
The iPhone XS’ camera is amazing, but put an unedited shot next to an unedited photo from the older iPhone X, or one of Google’s Pixel phones, and it looks a little flat. To “fix” this, you can tap the auto-enhancing Magic Wand tool on the edit screen, but this takes things too far in the opposite direction, making faces as orange as Florida bodybuilders.
I actually prefer the less-gaudy images from the XS, but sometimes they need a little extra pop. And the good news is, you don’t have to spend lots of time editing. There’s one slider built into the Photos app that will fix things up right away.
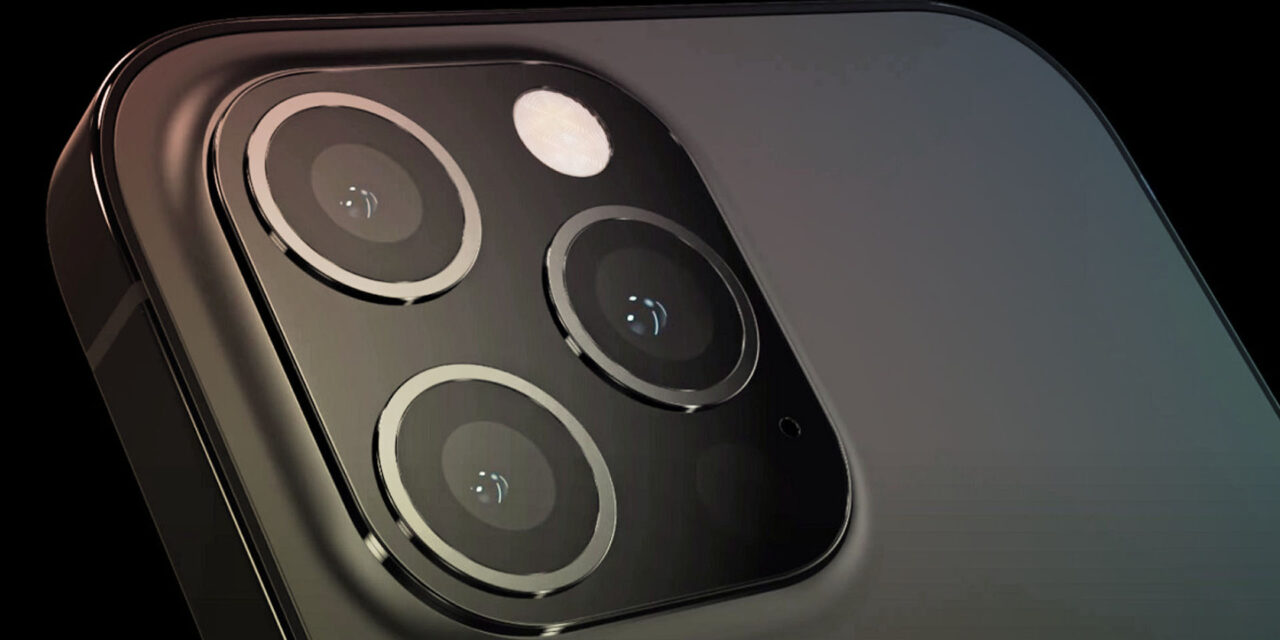
iPhone XS photos: Too flat or more pro?

Photo: Charlie Sorrel/Cult of Mac
To my eye, the iPhone XS renders its images with less contrast, and less-saturated colors, than previous iPhones. I find that it compares more to pro-level DSLR cameras than other phones. DSLRs create images that are meant to be edited, so they don’t over-egg things, as it were. To continue the food analogy: In the same way that you can always add more salt to the soup, but you can never remove it, when a camera bakes in bright colors and punchy contrast, it’s hard to go anywhere else.
The straight photos from the iPhone XS remind me of the pictures from the Nikon D700. There’s an understated, beautiful quality to them that can stand alone, but can be edited if required.
But what if you like punchy pictures?
Auto-enhance? Not on iPhone XS, thanks

Photo: Charlie Sorrel/Cult of Mac
With the iPhone 7, I used the magic auto-enhance feature often. Around half the time, it really would improve a shot. A little more contrast, a little extra brightness, but not too much.
On the iPhone XS the tool is, to make an annoying pun, excessive. Tapping it turns the image into a gaudy, over-bright, too-colorful mess. I almost never use it anymore, unless it’s to make a “utility” photo more usable — a photo of a menu in a gloomy restaurant, for example.
Instead, I opt for the Light slider in the Photos app.
The Light slider
Take a look at the image above. It’s your average meat-and-potatoes Instagram dinner shot. The original image is on the right. The auto-enhanced image is in the middle. The leftmost version uses the Light slider. In this example, the differences look subtle. But the Light slider brightens up the image without messing up its colors. To access the Light slider, tap Edit when viewing a photo, tap the little dial icon, then tap the Light label.
The Light slider isn’t just a simple switch to crank up the exposure. It’s actually an automatic combination of several parameters:

Photo: Cult of Mac
Take a look at the list. Brilliance, exposure, shadows and highlights, contrast, and more. All of these automatically adjust when you move the Light slider. But you also can access them individually by tapping the downward-pointing chevron next to the Light slider. (In practice, I only get to this deep level for troublesome photos.)
Almost as easy as auto-enhance
Both the auto-enhance button and the Light slider require that you enter the Photos edit screen, so using one is pretty much just as easy as using the other. And Light, as we’ve seen, doesn’t mess with the color of your photo. I find the iPhone XS’ auto-enhanced colors to be terrible, so I like it this way.
And once you’re in this deep editing section, screw around. You can always revert to the original image — and you might find something you really dig.


Recent Comments