
Reolink’s latest home security camera isn’t really a new model, but more of an upgrade of an older one. The Reolink C2 Pro retains the same body as the the C1 Pro, but improves its image quality with a five-megapixel camera that delivers 1920p resolution.
According to Reolink, this results in videos that are 1.3-times clearer and sharper than 4MP cameras like the C1 Pro, and 2.4-times clearer than competitors that deliver 1080p resolution. The C2 Pro retains its sharpness even when you use its 3X optical zoom.
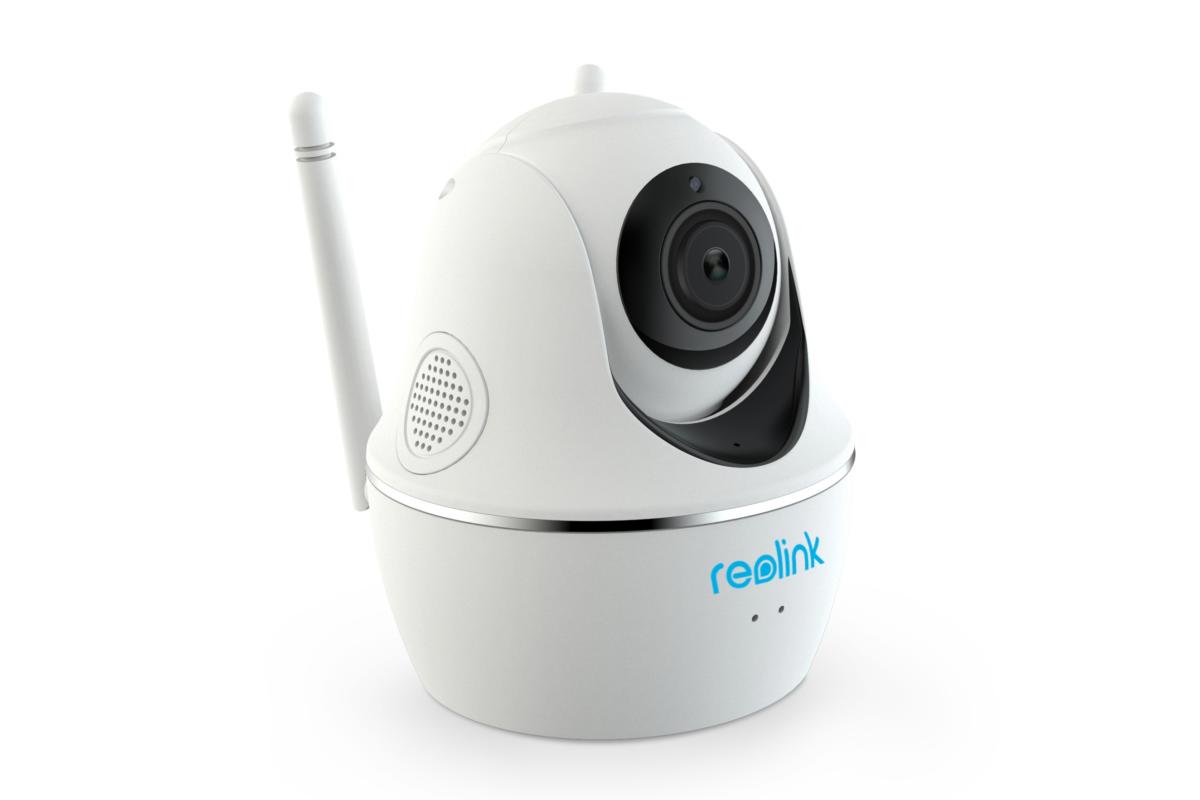
Many of the other features of the C1 Pro are still here: A ring of eight infrared LEDs around the camera’s lens provides up to 40 feet of night vision. The camera also includes an integrated microphone and a speaker for two-way communication, and it supports motion detection with push notifications. It can rotate 355 degrees horizontally and 105 degrees vertically, and supports dual band Wi-Fi for stronger network signals.
You can save motion-detected video clips locally to microSD card (cards with up to 64GB of capacity are supported), or you can upload them to an FTP server. You can also enable 24/7 continuous recording by connecting the camera to Reolink’s 8- or 16-channel NVR, sold separately for $230 and $330 respectively.
 Reolink
The Reolink C2 Pro pans 355 degrees and tilts 105 degrees.
Setup
Though the C2 Pro operates over your Wi-Fi network, you must first connect it to your router for initial setup (an ethernet cable is provided). Once you do this and plug in the power cord, you scan the QR code on the bottom of the camera using the Reolink app and follow a few onscreen prompts to connect it to your wireless network.
The pear-shaped camera can be set on a table or shelf or mounted to a wall using the included hinged bracket and mounting hardware. The bracket can be angled up to 90 degrees and locked into place.
The app
 Michael Ansaldo/IDG
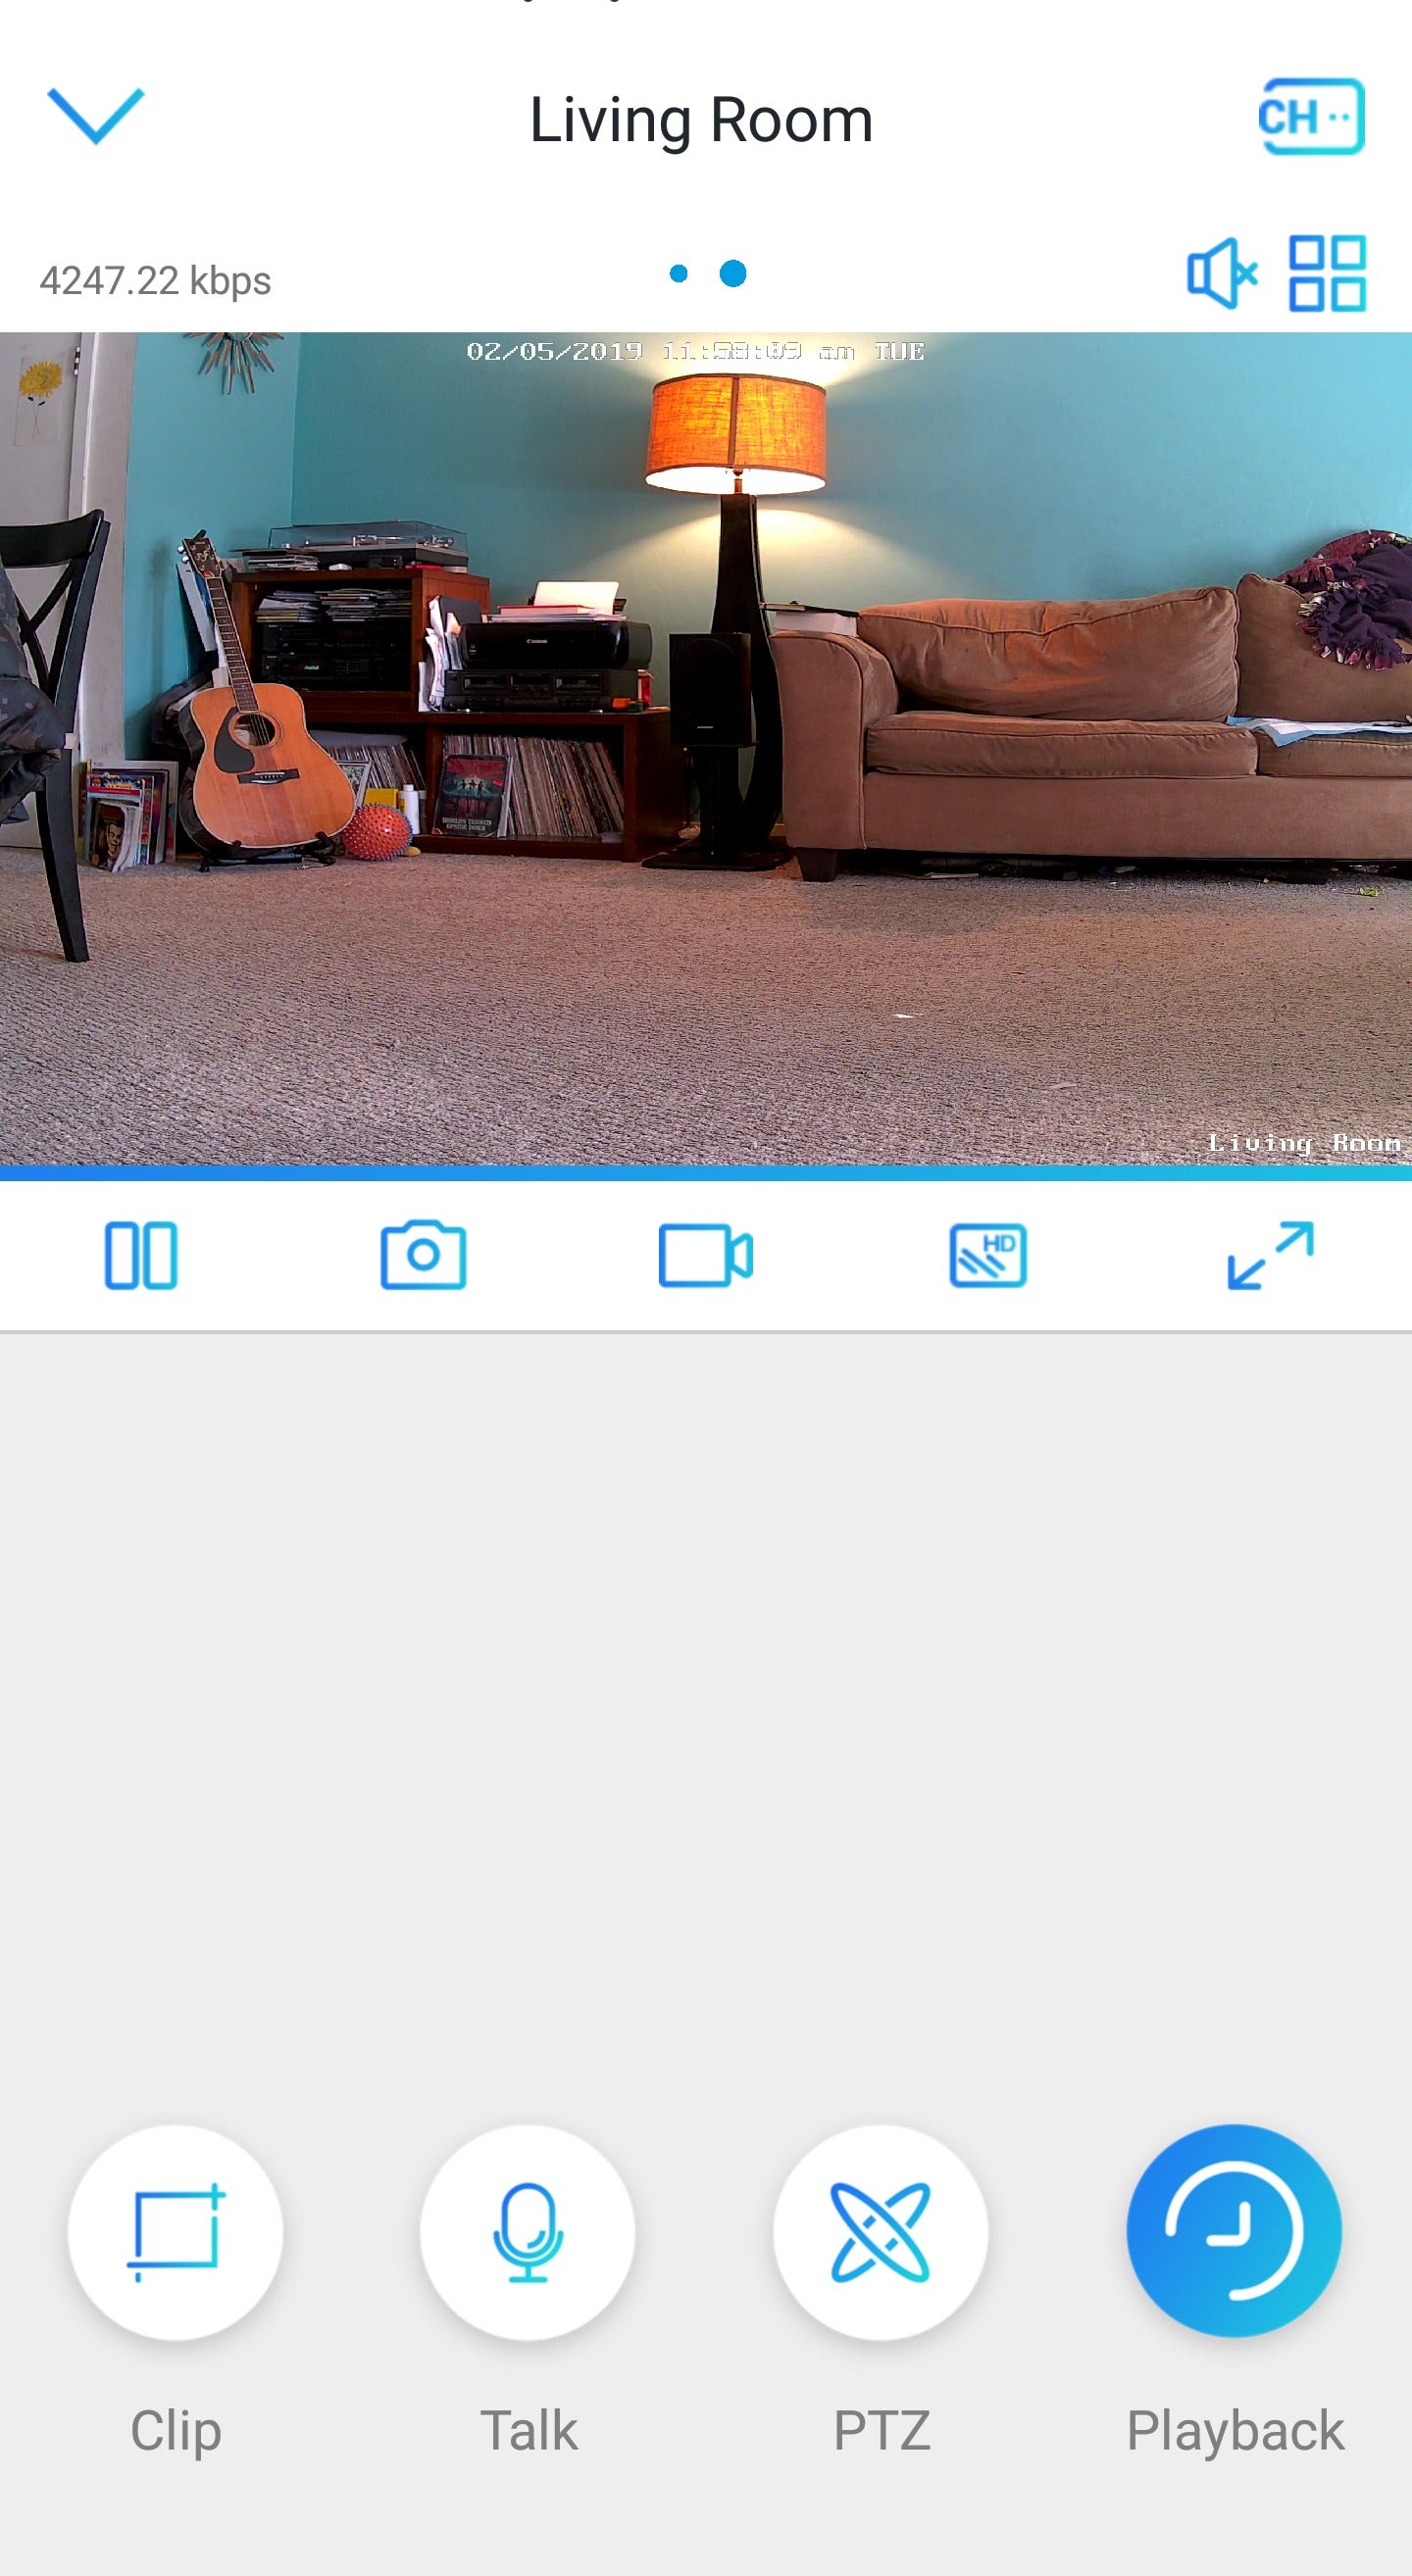
The Reolink app makes it easy to control the camera’s many features.
One you add the camera in the Reolink app, it appears on the device page with any other connected Reolink cameras you have. You an adjust various settings from here, including video quality, recording method, and storage preferences. Most importantly, this is where you turn on push notifications for motion events—it’s turned off by default—and set a recording schedule if you don’t want the camera capturing motion events around the clock.
Selecting the C2 Pro from the device list opens the camera’s home screen. Along with the live-stream pane, you’ll also find a toolbar with buttons for all the camera’s controls—play/pause, record, and snapshot buttons—plus a toggle for the camera’s resolution, and another button for viewing the feed full screen.
At the very bottom of the screen are a push-to-talk button, pan-and-tilt controls, a playback button that accesses your library of videos, and a button labeled “Clip.” This last one opens a screen capture of the camera’s current view at the bottom of the screen, with a small box overlaying it. As you drag the box to different parts of the image, a zoomed-in view of that crop appears in the camera’s live view pane.
Performance
True to Reolink’s claims, the C2 Pro delivers a remarkably clear, sharp image. The wide viewing angle allowed me to take in most of my living room even without needing to pan the camera, but this also resulted in a tiny bit of image bending around the edges. It also reproduces colors as far more vibrantly than they are in reality. That’s not really a problem, except that parts of the image took on an orange cast from whatever light fixture I had turned on.
The pan and tilt controls include a directional pad, zoom, and focus buttons that let you fine-tune up-close shots. I found that particularly helpful when I was getting successive motion alerts and couldn’t figure out what was setting them off. I zoomed in on a pile of blankets on my living room floor and found one of my cats nestled in it, cleaning herself.
 Michael Ansaldo/IDG
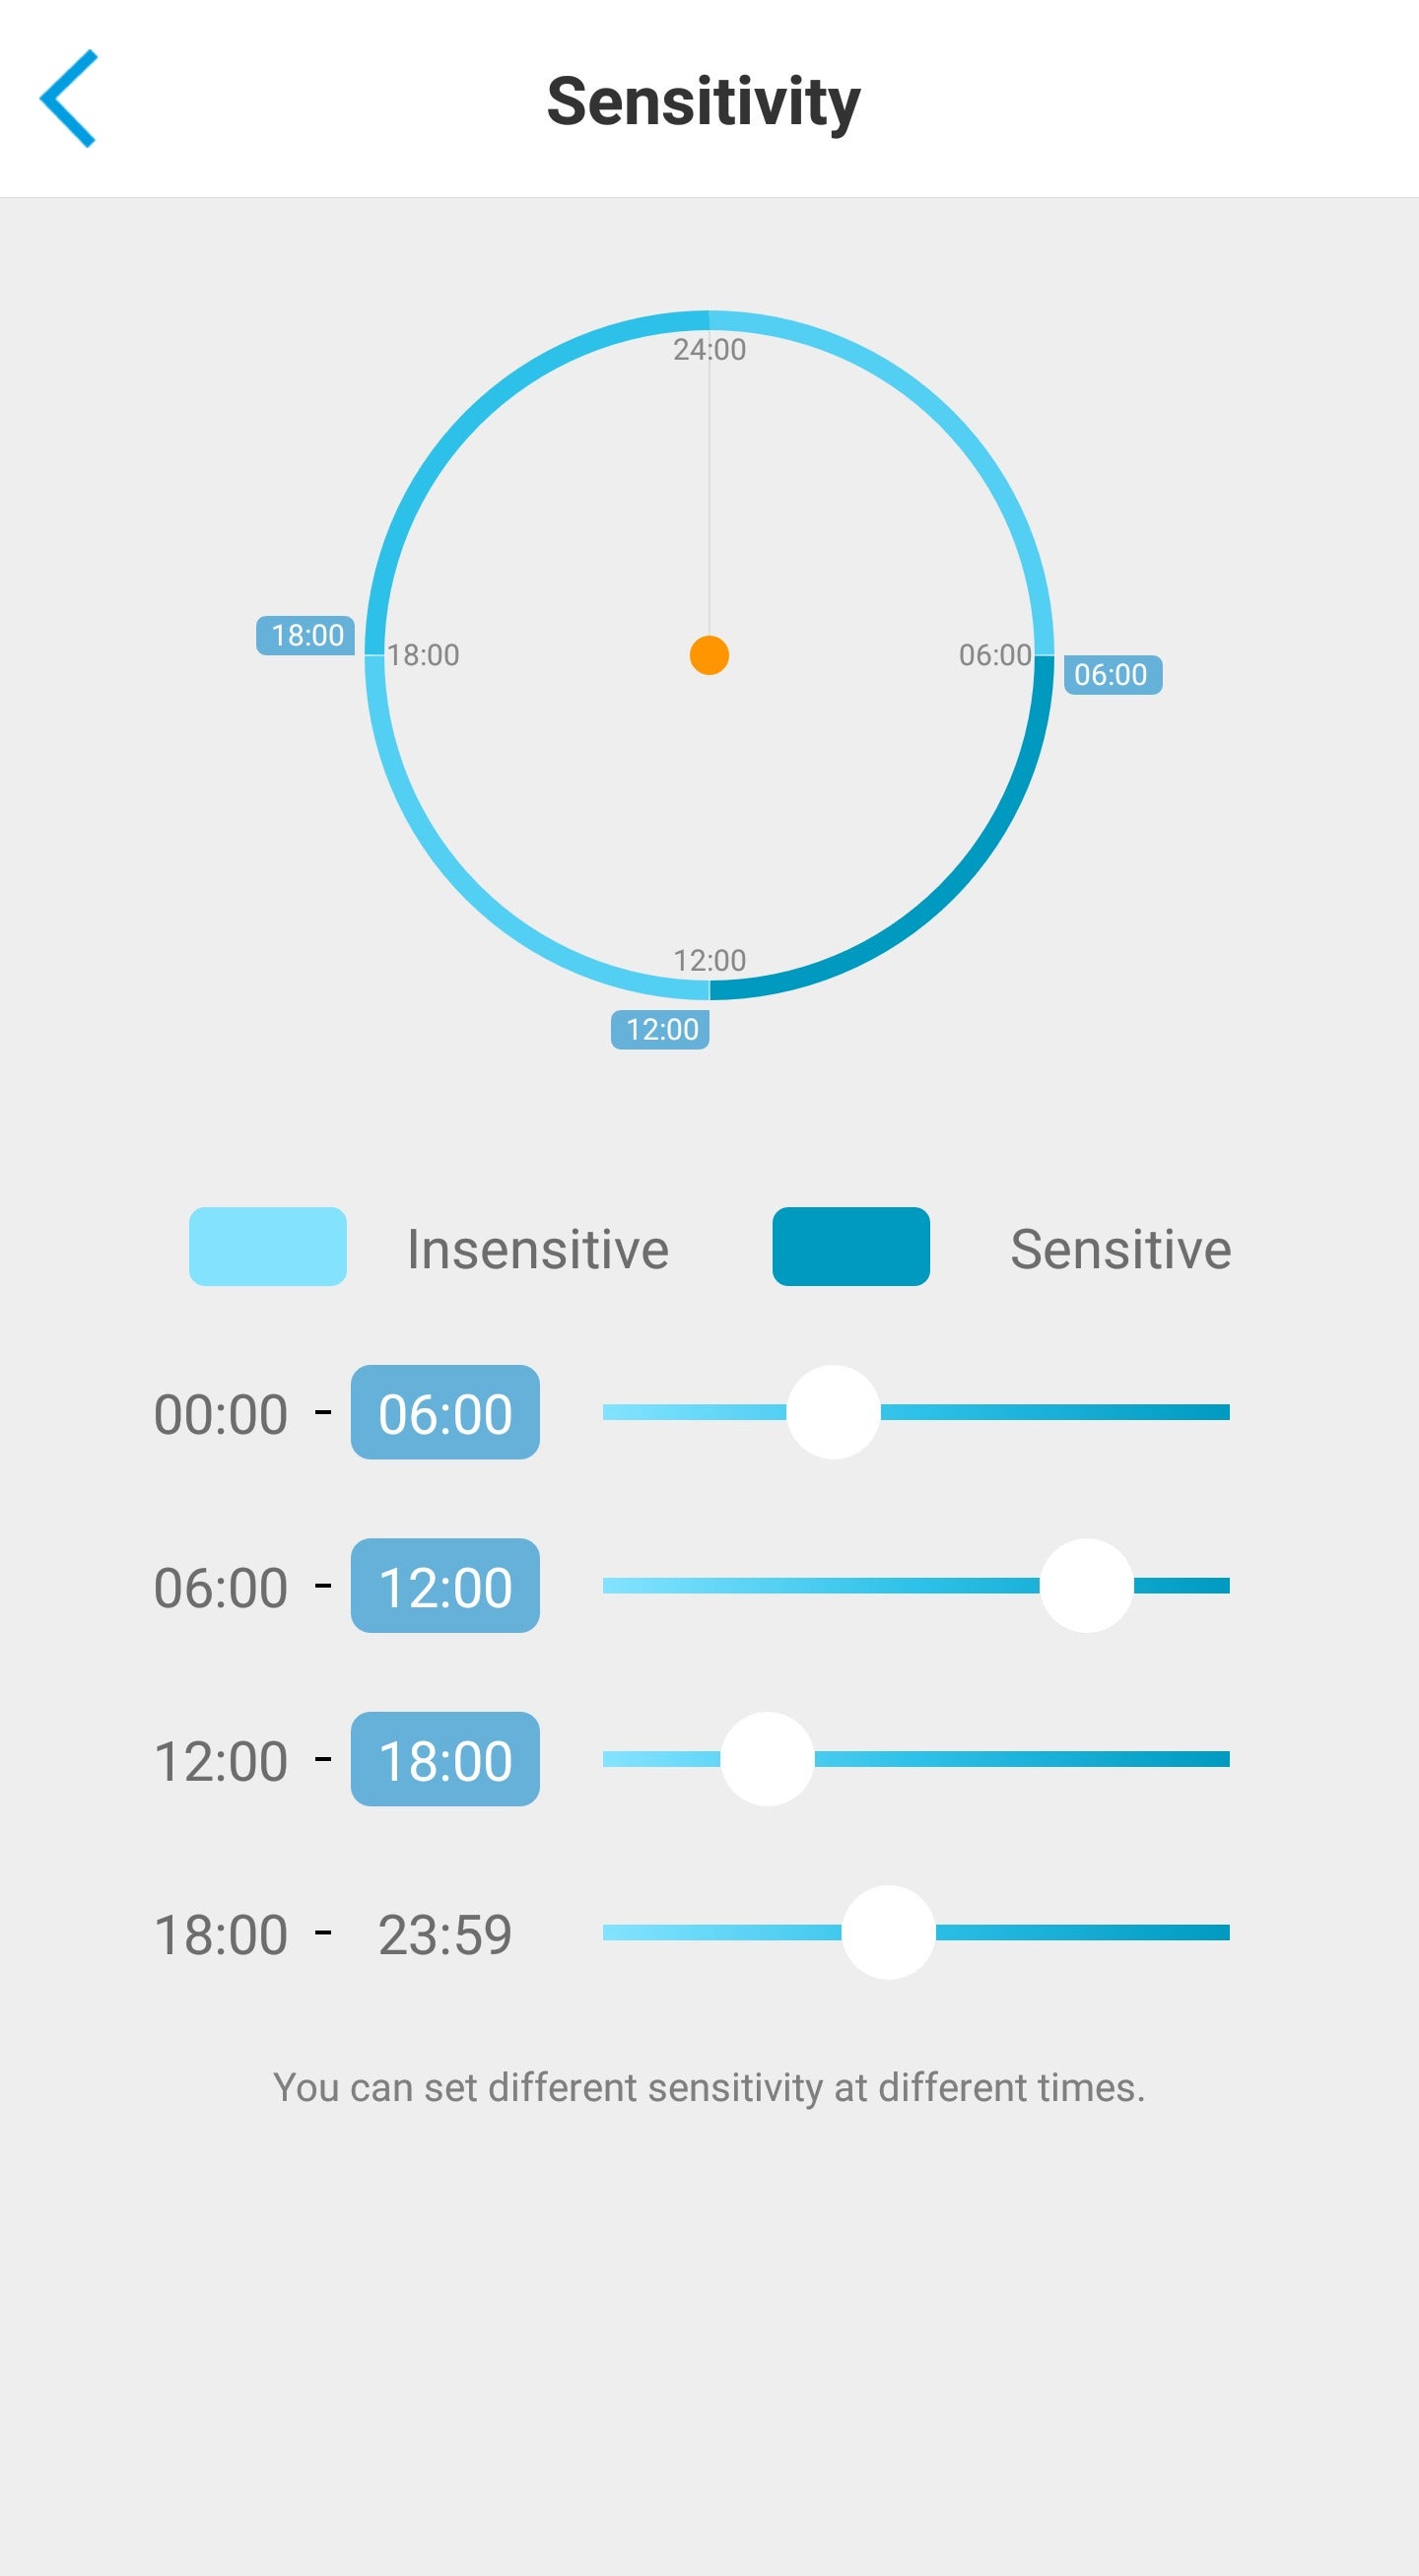
You can set motion sensitivty for different times of day.
Holding down the directional pad makes the camera pan continuously, while tapping it moves it incrementally. The camera rotates smoothly with little motor noise, and stops as soon as you remove your thumb from the directional pad. You can also set waypoints or use an Auto pan feature to do a full sweep of the room.
Motion detection was accurate and alerts were prompt in my tests. If you don’t want to receive alerts around the clock, you can schedule when you want push notifications active or turn them off altogether. The app also allows you to set different motion-detection sensitivities for different times of the day.
Four time block are offered, with default periods of 12 a.m. to 6 a.m., 6 a.m. to 12 p.m., 12 p.m. to 6 p.m., and 6 p.m. to 11:59 p.m.. You can customize these your liking.
Bottom line
The Reolink C2 Pro 2 is good improvement on an already solid home security camera. With its sharp image quality, versatile viewing angle, and ability to record video 24/7 or only when motion is detected, it’s a great option for your home or small business.


Recent Comments