
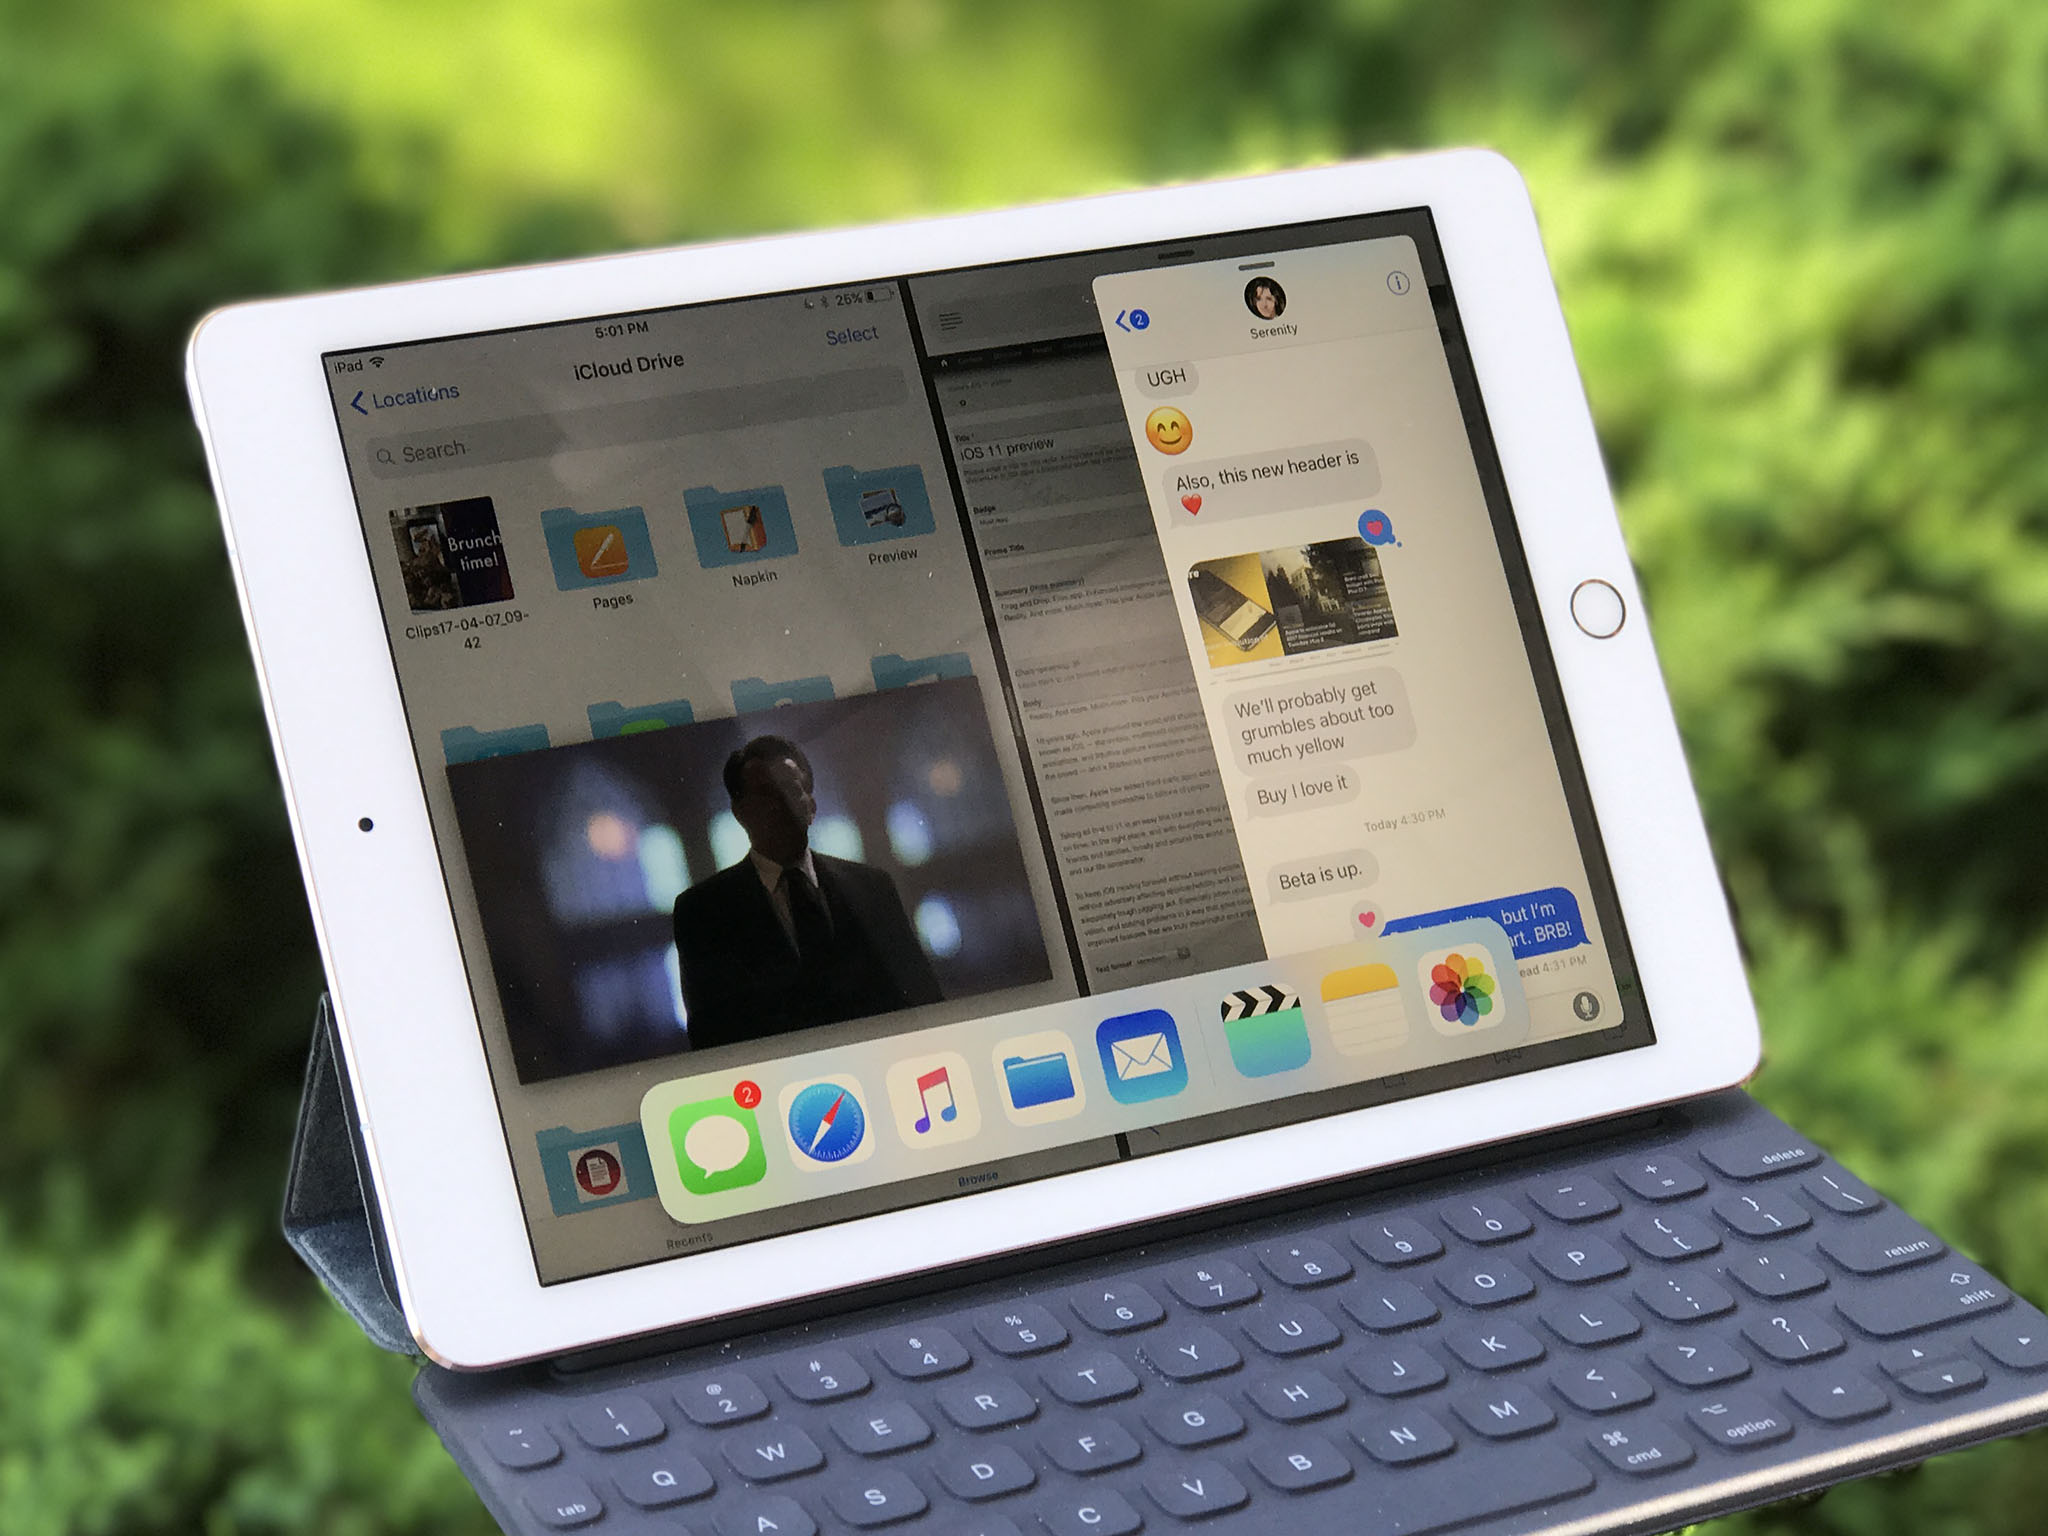
Slide Over and Split View are easier to use than ever thanks to the Dock and drag and drop motions.
Apple iPad offers lots of multitasking tools that are worth using to save time, perform tasks in new ways, and yes, have more fun. Here’s what you can do with multitasking on Apple’s tablets.
- What does multitasking look like in iOS 12?
- Which iPads can take advantage of multitasking in iOS 12?
- Using Slide Over or Split View
- How to adjust your Slide Over or Split View apps
What does multitasking look like in iOS 12?

There are four components to multitasking in iOS 12: Slide Over, Split View, Picture-in-Picture, and the App Switcher. These features were redesigned and improved in iOS 11 after being introduced in iOS 10.
Slide Over

Slide Over allows you to have a second app on the left or right side of the screen in an iPhone-sized floating pane; you can also hide it off the screen or re-summon it at any time by swiping it away (hence the "slide" portion of the name).
Unlike iOS 10, Slide Over doesn’t have a default "app" you can slide in from the screen — after a restart, you’ll need to drag one on the screen from the Dock or Home screen.
How to use Slide Over in iOS 12
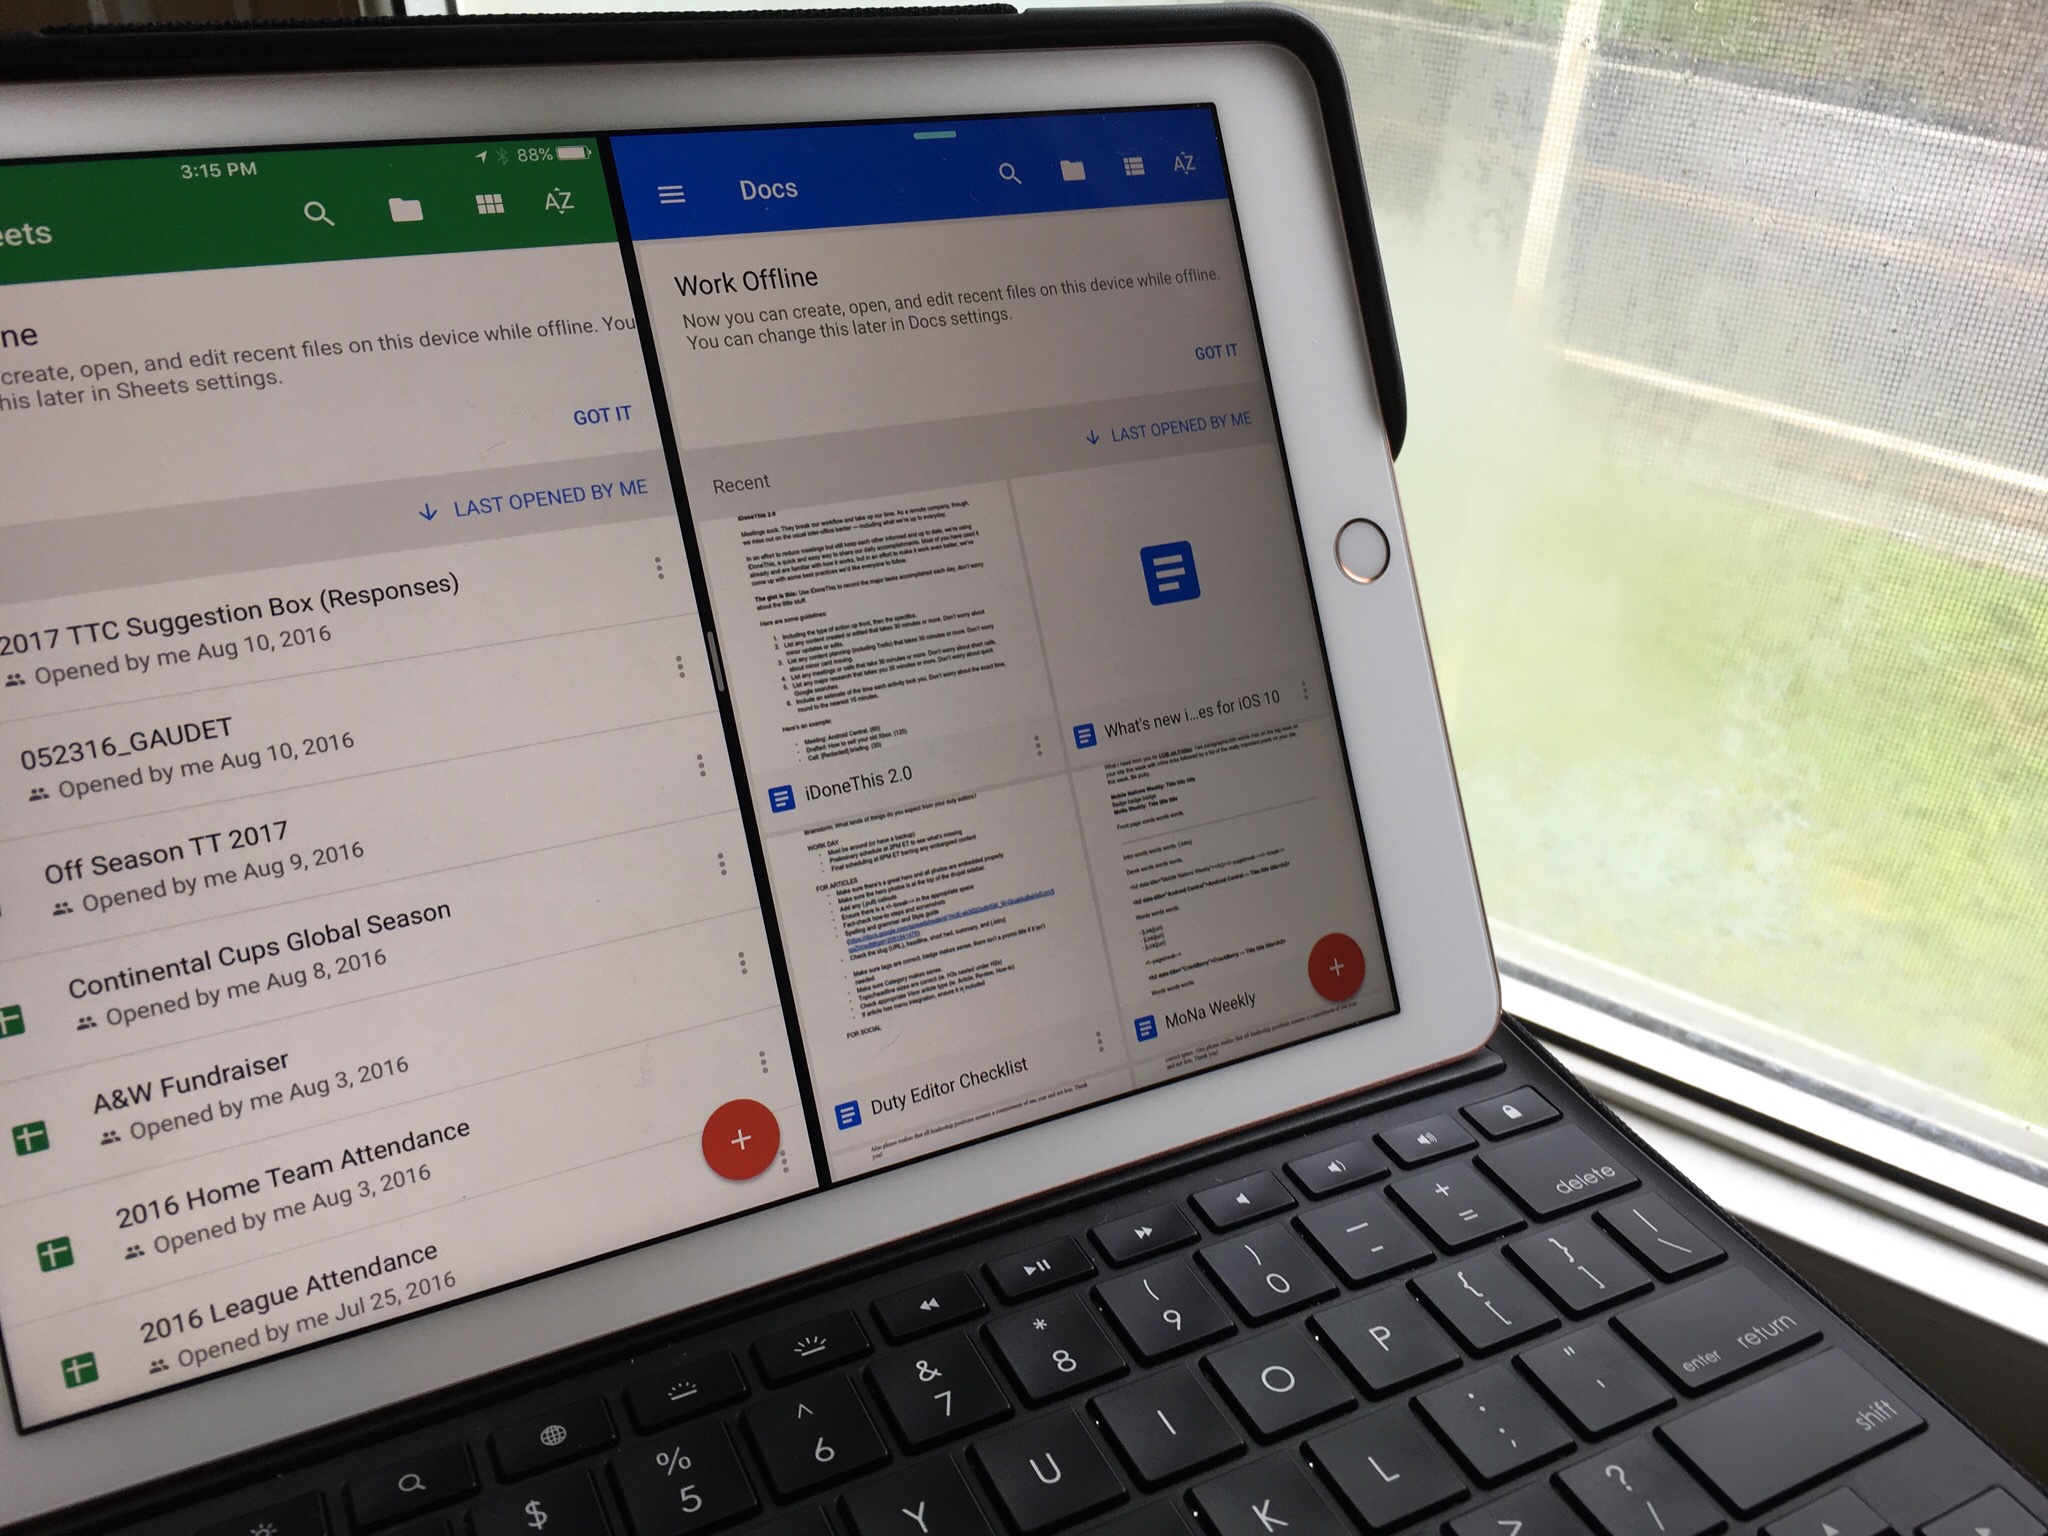
Split View
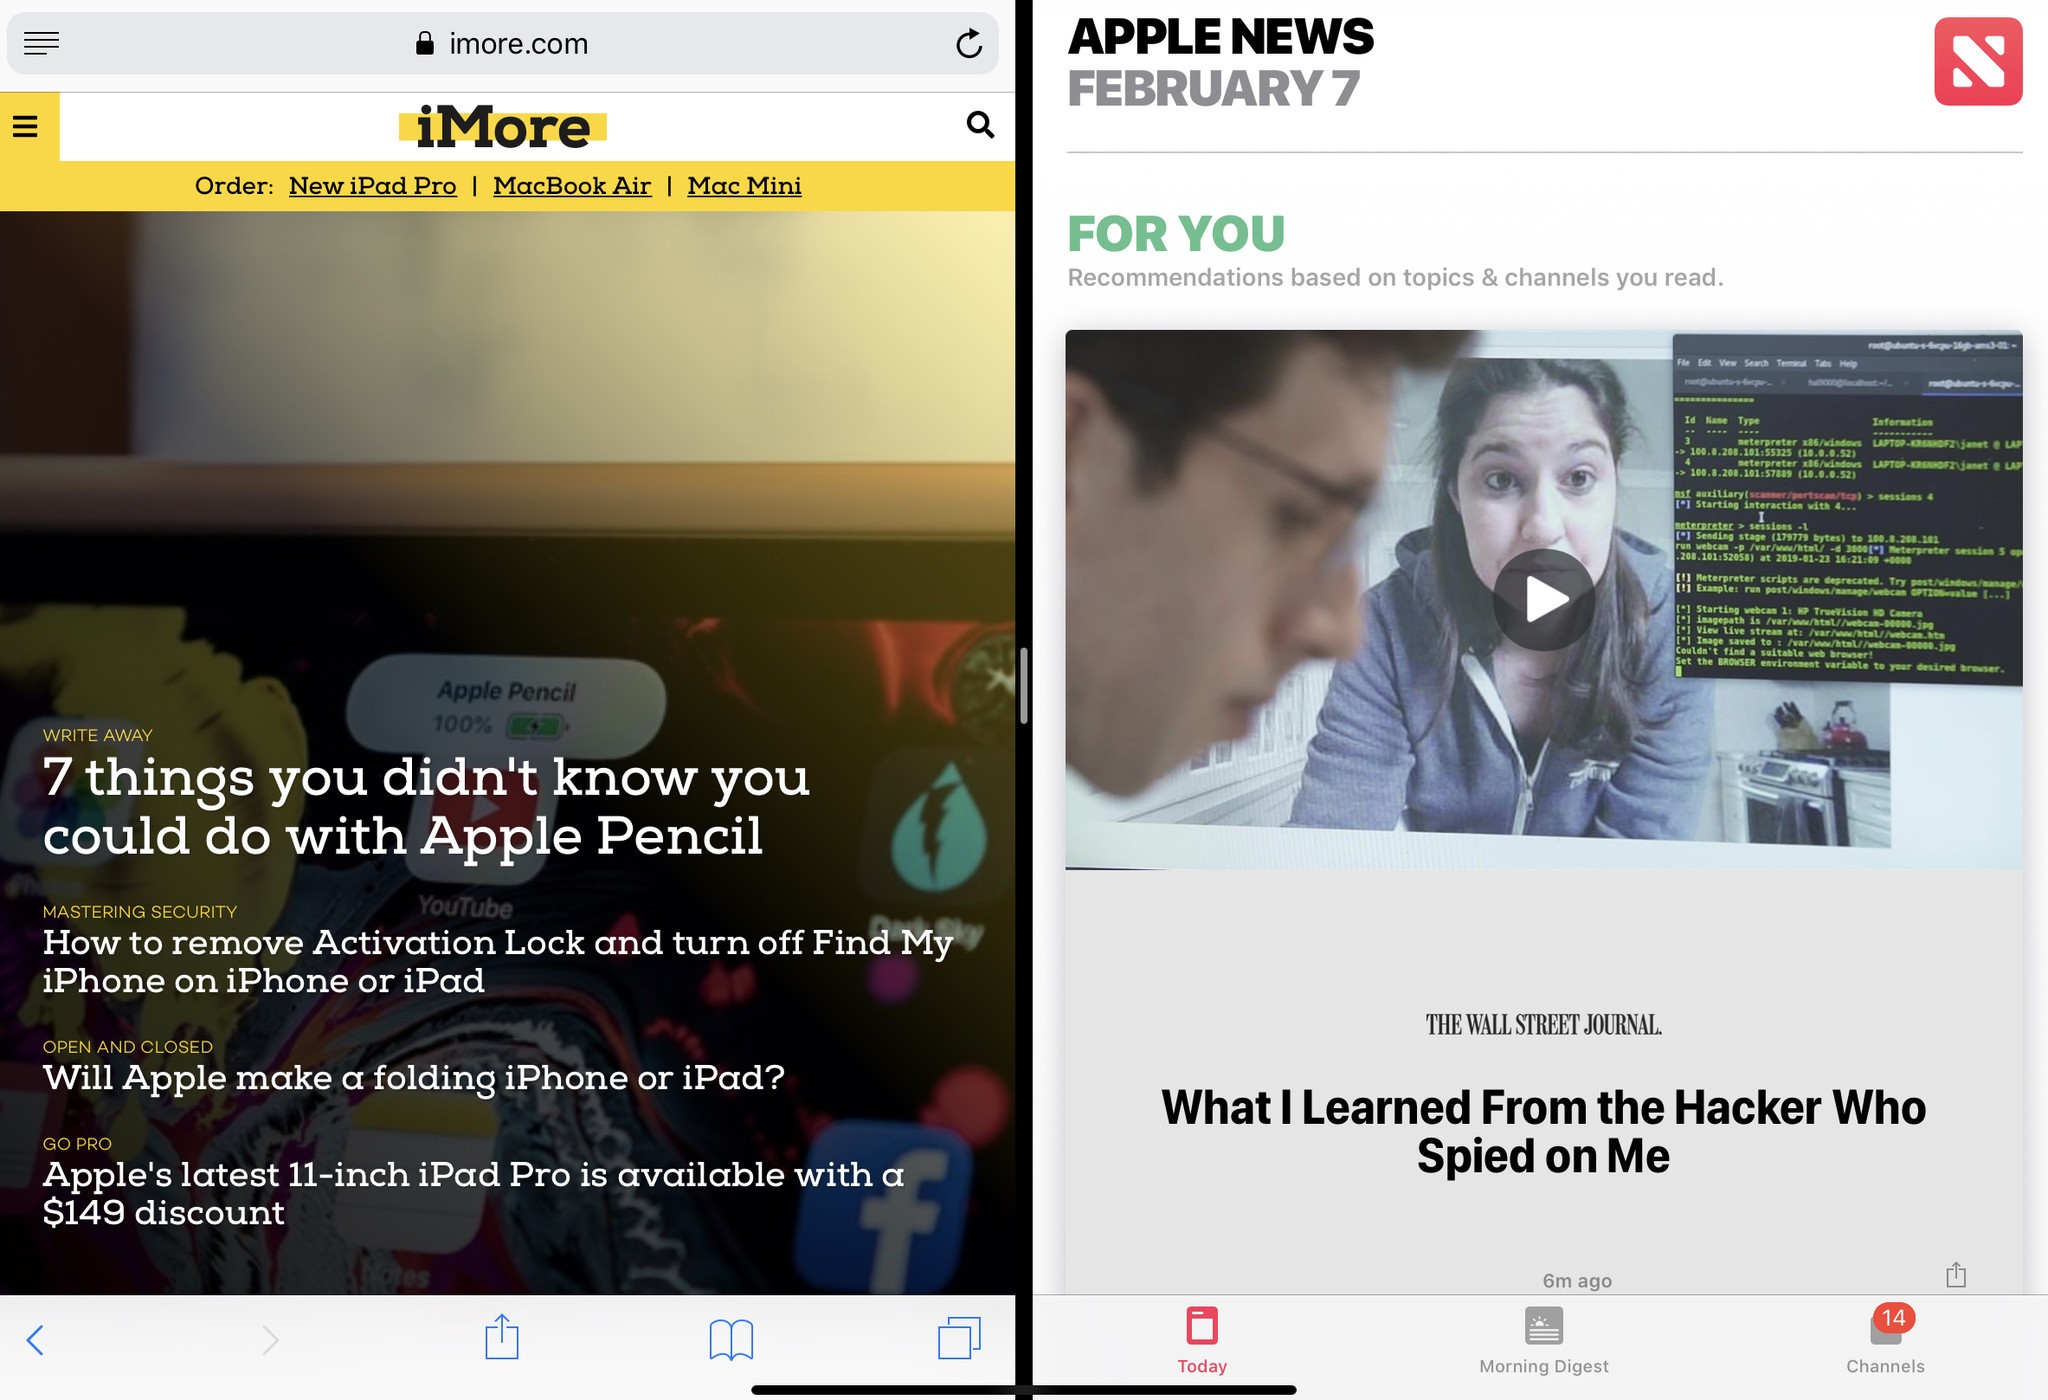
Split View lets you have two persistent apps sitting side by side on your iPad. Depending on the screen size of your iPad, those two apps may be displayed as Compact (iPhone UI) or Regular (iPad UI) next to each other.
On certain iPads, you can also resize Split View panes for a 50-50, 25-75 or 75-25 split in a horizontal orientation; when holding the tablet vertically, you’ll only have the 25-75 or 75-25 options.
- 50-50: Each app takes up the exact same real estate on the iPad.
- 25-75: The app on the left takes up just 25% of the screen, with the right app taking up 75%.
- 75-25: The app on the left takes up 75% of the screen, with the right app taking up 25%.
When multitasking in the App Switcher, Split View apps will remain conjoined until separated; Apple calls them "App Spaces." Unlike the Mac’s Spaces, you can’t have multiple configurations of the same apps (i.e. an App Space that had Safari and Mail, and an App Space that had Safari and Fantastical) at this time.
How to use Split View in iOS 12
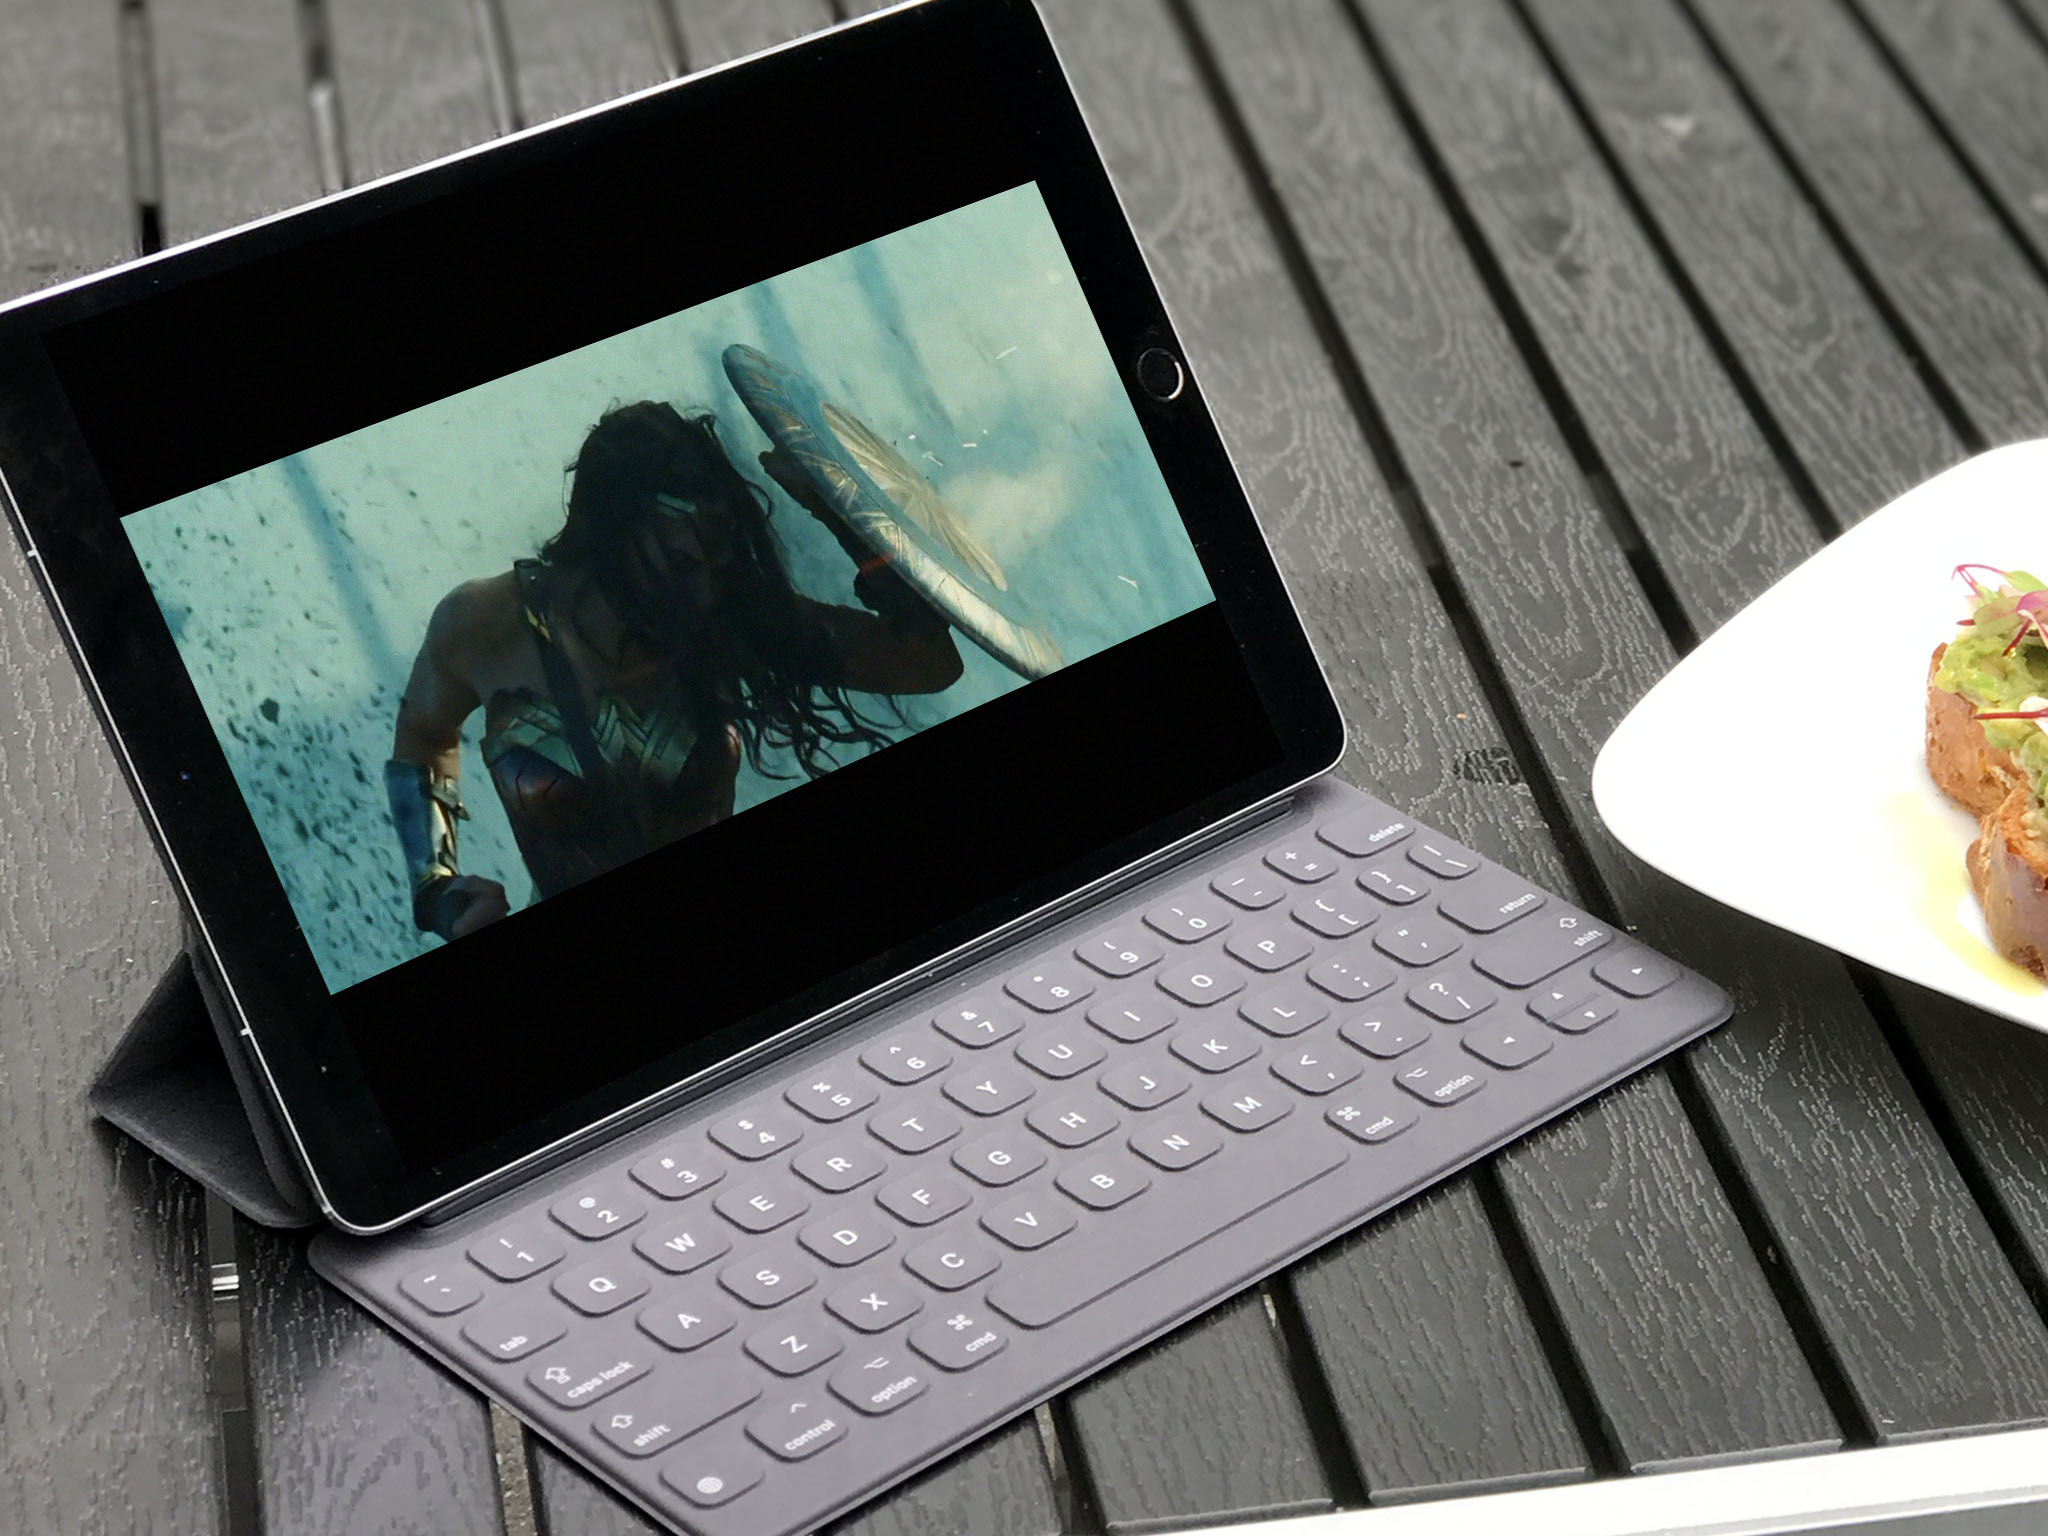
Picture-in-Picture
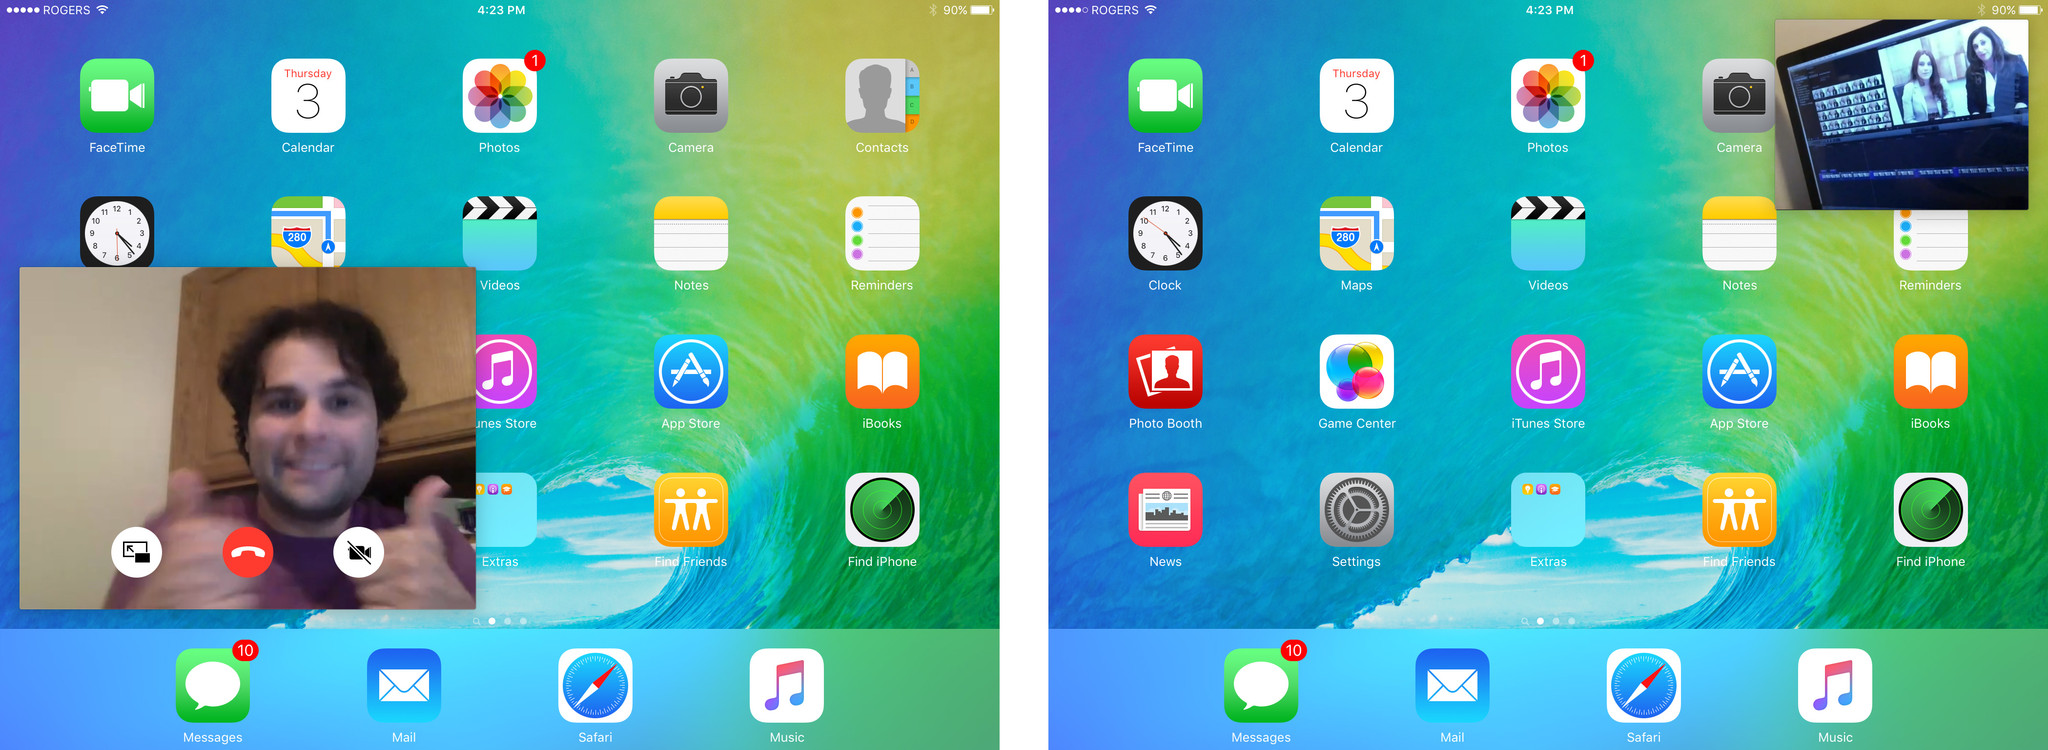
If you’re watching a video in an app that supports Picture-in-Picture, you may be able to minimize the video window to float alongside your current workspace, effectively making the video a second Slide Over pane.
Once in Picture-in-Picture mode, you can pinch-to-zoom or shrink the window, position it in any corner of the screen, play/pause video, slide the video off-screen, or return it to its original app.
How to use Picture-in-Picture on your iPad
App Switcher

iOS 12’s App Switcher replaces iOS 10’s multitasking screen and can be accessed by swiping up with one finger from the bottom edge of the screen and holding in the middle of the screen until the app switcher appears It’s comprised of three parts, the Dock, App Spaces, and recently used apps.
Note: Beginning with iOS 12, Control Center is no longer included on the App Switcher screen on iPad. Removing this allows the design to match that of the iPhone.
App Spaces can be found at the top of the screen; they’re what Apple is calling its conjoined Split View apps. You can tap to enter them, though you can’t currently separate them or create new App Spaces from the App Switcher interface.
Other recently used apps can be scrolled through by swiping right and tapped on to enter them; you can also force quit them by pressing and holding on a pane and moving your finger upward.
Which iPads can take advantage of multitasking in iOS 12?
Any iPad that runs iOS 12 can use multitasking, but each offers different levels of support depending on its RAM.
12.9-inch iPad Pro (first, second, and third generation)
The 12.9-inch iPad Pro is Apple’s best implementation of multitasking: All three generations have 4GB of RAM (except the 2018 1TB versions, which have 6GB) and a screen large enough to support Split View apps in their largest configuration.
-
Slide Over: Supports Slide Over on top of Split View with full interaction* for all apps
Third- and second-generation iPad Pro only; first-generation supports Slide Over on top of Split View, but only Slide Over is in focus.
- Split View: Supports Regular (iPad UI) size classes in Split view; it supports 50-50/25-75/75-25 views horizontally and 25-75/75-25 views vertically.
- Picture-in-Picture: Supports PiP next to Slide Over and on top of Split View with full interaction.
11-inch iPad Pro
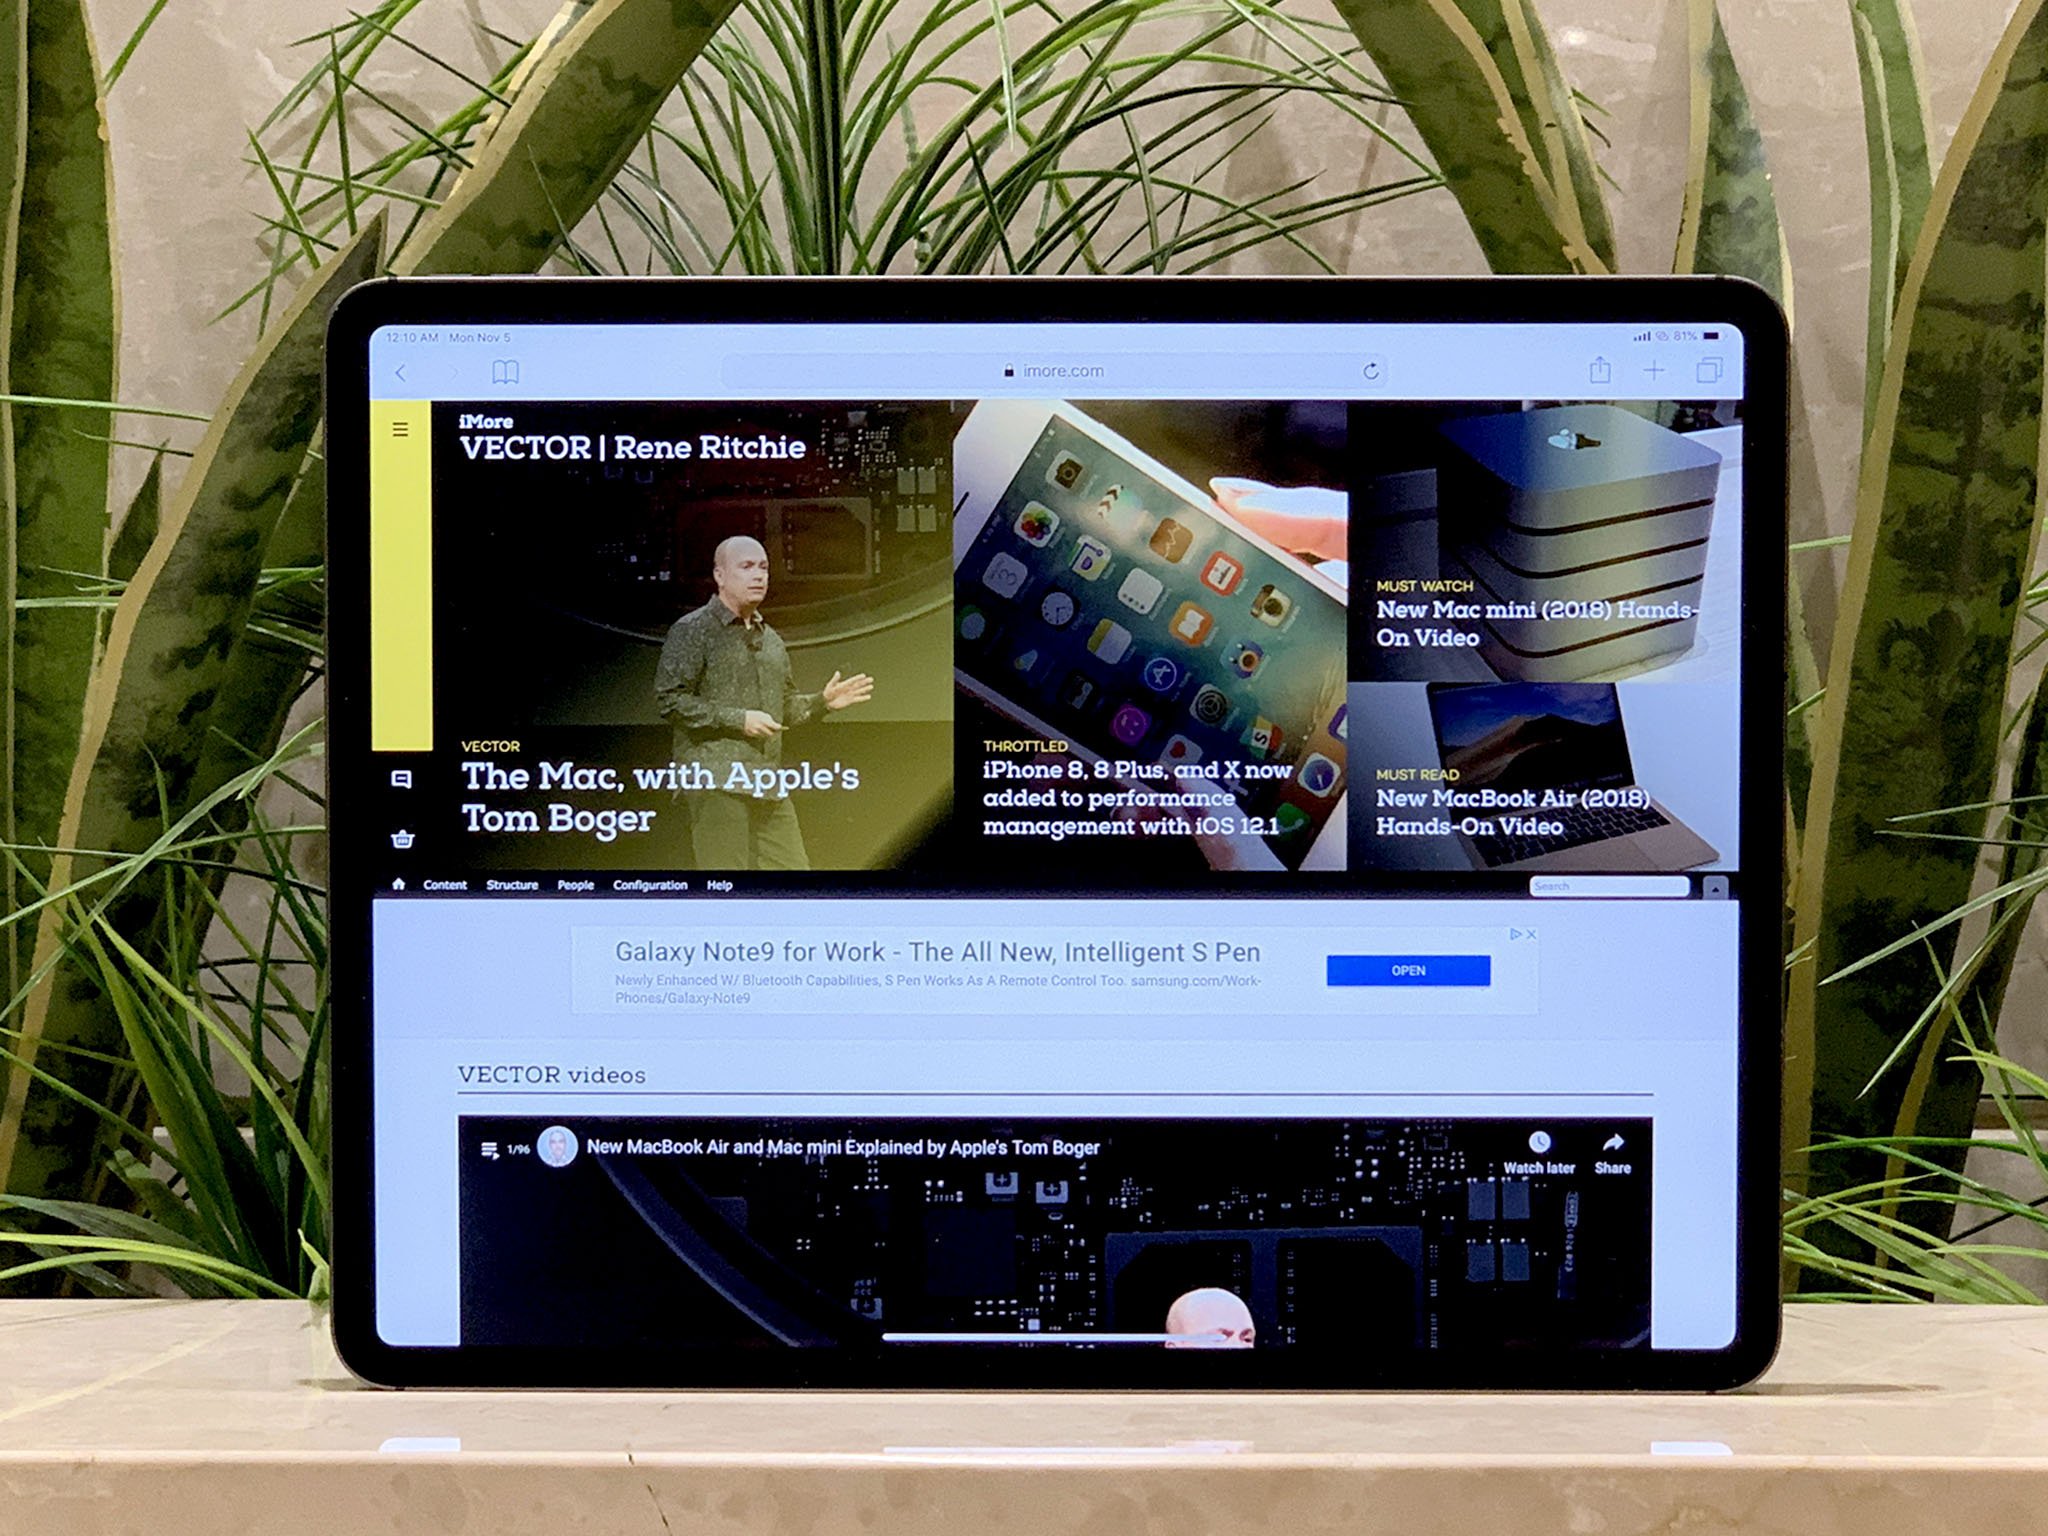
The 11-inch iPad Pro also has 4GB of RAM, but the smaller screen limits it to iPhone UI-style sizes in Split View.
- Slide Over: Supports Slide Over on top of Split View with full interaction for all apps.
- Split View: Supports Compact (iPhone UI) size classes in Split view; it supports 50-50/25-75/75-25 views horizontally and 25-75/75-25 views vertically.
- Picture-in-Picture: Supports PiP next to Slide Over and on top of Split View with full interaction.
10.5-inch iPad Pro
The 10.5-inch iPad Pro has 4GB of RAM.
- Slide Over: Supports Slide Over on top of Split View with full interaction for all apps.
- Split View: Supports Compact (iPhone UI) size classes in Split view; it supports 50-50/25-75/75-25 views horizontally and 25-75/75-25 views vertically.
- Picture-in-Picture: Supports PiP next to Slide Over and on top of Split View with full interaction.
9.7-inch iPad Pro, iPad mini 4 (7.9-inch iPad), and all other 9.7-inch iPads (2017 + 2018)

- Slide Over: Supports Slide Over; only the Slide Over pane is useable when on the screen, with the background app or Split View apps grayed out.
- Split View: Supports Compact (iPhone UI) size classes in Split view; it supports 50-50/25-75/75-25 views horizontally and 25-75/75-25 views vertically.
- Picture-in-Picture: Supports PiP next to Slide Over and on top of Split View with only PiP and Slide Over in focus.
iPad mini 2 and 3, and iPad Air
These devices can’t use most of iOS 12’s multitasking features due to RAM limitations.
- Slide Over: Supports Slide Over; only the Slide Over pane is useable when on the screen, with the background app grayed out.
- Split View: Not supported.
- Picture-in-Picture: Supports PiP next to Slide Over and on top of Split View with only PiP and Slide Over in focus.

Using Slide Over or Split View
Whether you want to add a Slide Over pane or enter Split View, adding an app to your workspace is pretty simple.
From the Dock
- Swipe up from the bottom of the screen to invoke the Dock.
- Tap and drag on an app in the Dock to invoke Multitasking mode.
- Drag the app out of the Dock up to the screen.

From the Home Screen
Want to use an app that’s not in your Dock? Here’s how to go about it.
- Go to the Home Screen.
- Tap and drag on an app on your Home Screen to invoke Multitasking mode.
- While dragging the app, use a second finger to tap the other app you want to use. (If the other app is on another Home screen, you can swipe and then tap while dragging on the first app.)

How to choose the type of multitasking you want: Slide Over or Split View
Once you’ve picked the app you’d like to use, you can choose what kind of multitasking you’d like to do: Slide Over, or Split View.
- To invoke Slide Over, drag the app to the center of the screen.
- Release your drag. Slide Over automatically positions on the right side of the screen.

- To invoke Split View, drag the app to the far left or right of the screen until you see the main app pane bump over, leaving a black space.
- Release your drag.

How to adjust your Slide Over or Split View apps
Here’s how to reposition apps once you’ve opened them in a multitasking mode.
How to turn a Slide Over pane into a Split View pane
- Position the Slide Over window on the side of the screen you’d like it.
- Pull down on the Slide Over pane’s Edit handle at the top of the screen until you see the main app pane bump over, leaving a black space.
- Release your drag.

How to turn a Split View pane into a Slide Over pane
- Position the Split View slider so that the app you wish to turn into a Slide Over pane is in 25% view.
- Pull down on the Split View pane’s Edit handle at the top of the screen until you see the main app pane bump over, taking over the entirety of the screen.
- Release your drag.

How to reposition an app in Slide Over
- To reposition the app on the left side of the screen, tap and drag the top of the Slide Over window to the left side.
- To reposition the app on the right side of the screen, tap and drag the top of the Slide Over window to the right side.
- To hide the app, drag the top of the Slide Over window off-screen to the right.

How to reposition an app in Split View
- To reposition the size of each Split View, drag on the vertical Edit handle in the middle of the screen.
- To swap panes, return the Split View pane to Slide Over by dragging down on the top Edit handle, follow the instructions for moving a Slide Over pane to the left side of the screen, and turn it back into a Split View pane.

How to swap out apps in Split View
- Follow the instructions for adding an app from either the Dock or Home Screen.
-
Drag the app icon on top of the app you want to switch out; the pane should darken.
If you don’t see the pane darken and the app icon re-size, you may be trying to switch out an app that doesn’t support Split View.
- Release your drag.

How to swap out apps in Slide Over
- Follow the instructions for adding an app from either the Dock or Home Screen as a Slide Over pane; the existing Slide Over pane will disappear when you drag the new app icon to the screen.

How to remove Slide Over or Split View app panes
Whether you’re done with multitasking or you want to clear your workspace, here’s how to remove Slide Over and Split View app panes.
How to remove the Slide Over pane
- Swipe right on the active Slide Over app pane to send it off screen.

How to remove a Split View app pane
- Tap and hold on the vertical Edit handle in the middle of the screen.
-
Drag left or right to the edge of the screen to close the app in the direction you’re dragging.

- To close both Split View panes at once, double press the Home button.
- Swipe up on the window that has the Split View panes in it.

Other questions on Split View and Slide Over?
If you have any questions about iPad multitasking with iOS 12, drop them in the comments!
Updated February 7, 2019: Added information about the 2018 iPad Pro, iOS 12. Serenity Caldwell contributed to an earlier version of this guide.


Recent Comments