
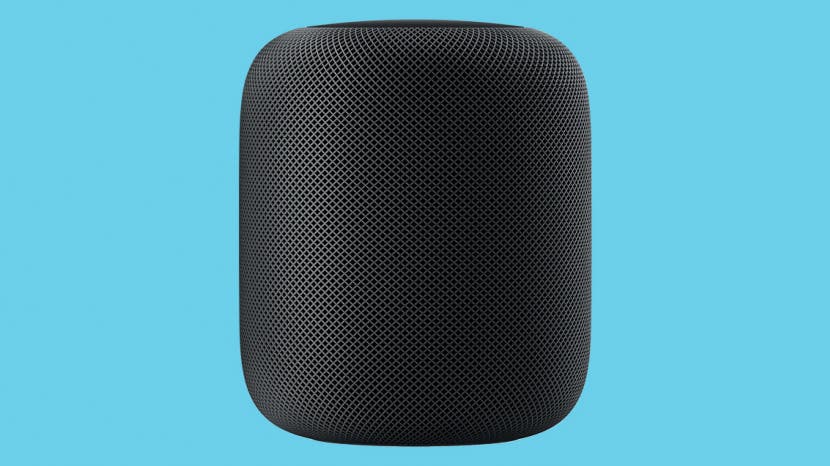
Setting up a brand new HomePod is exciting, but it can also be a frustrating process. In this article, we’ll cover how to set up your HomePod as well as basic troubleshooting tips for if your HomePod and iOS device refuse to communicate. From where to place your HomePod for the best sound to how to avoid enabling your grandkids to order off Amazon, we’ve got you covered. Read on to learn all about how to set up your HomePod and which security options are right for you.
Preparing Your iOS Device
- Before you do anything else, make sure your iPhone, iPad, or iPod touch has the latest iOS update installed. (Your HomePod requires an iOS device and cannot pair with the MacOS.)
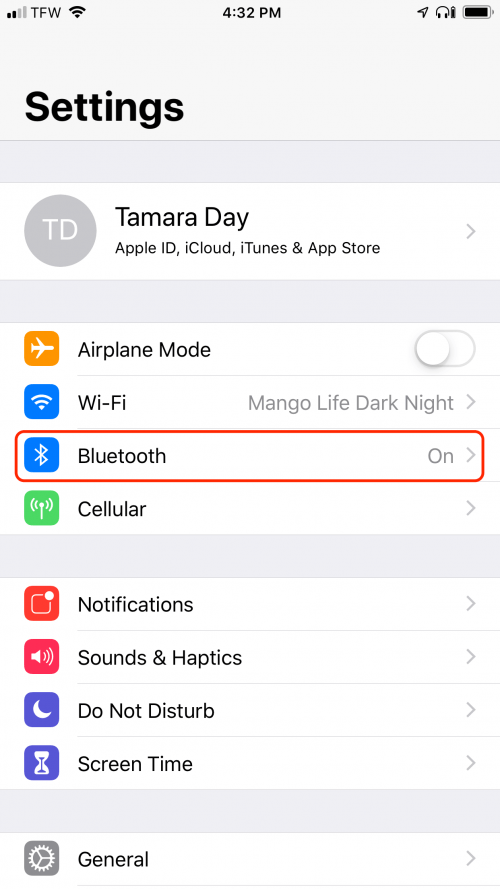
- Setting up your HomePod requires you have Bluetooth enabled on your iOS device. To enable Bluetooth, open Settings.
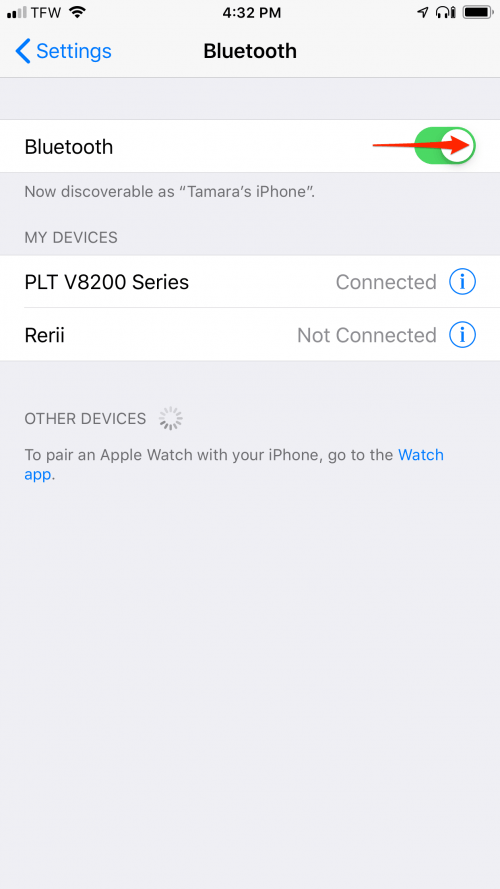
- Tap Bluetooth.
- Toggle Bluetooth to the On position.
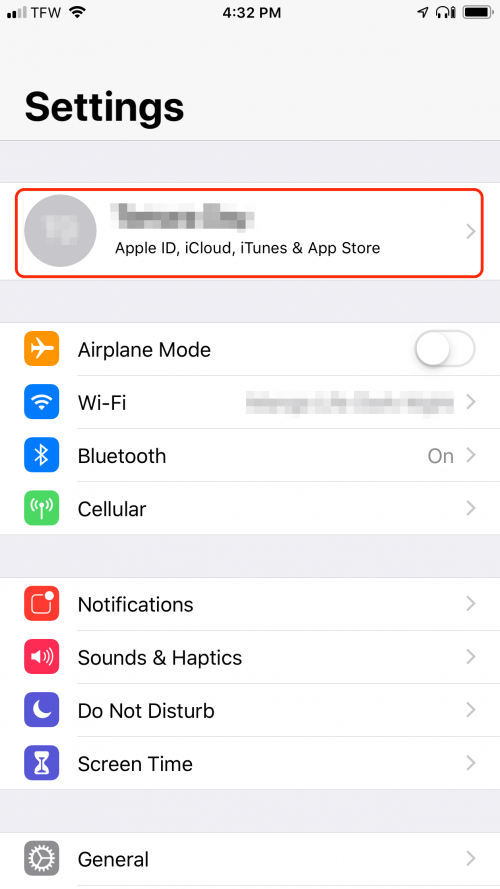
- Next, make sure iCloud Keychain is enabled. Open Settings.
- Tap your Apple ID.
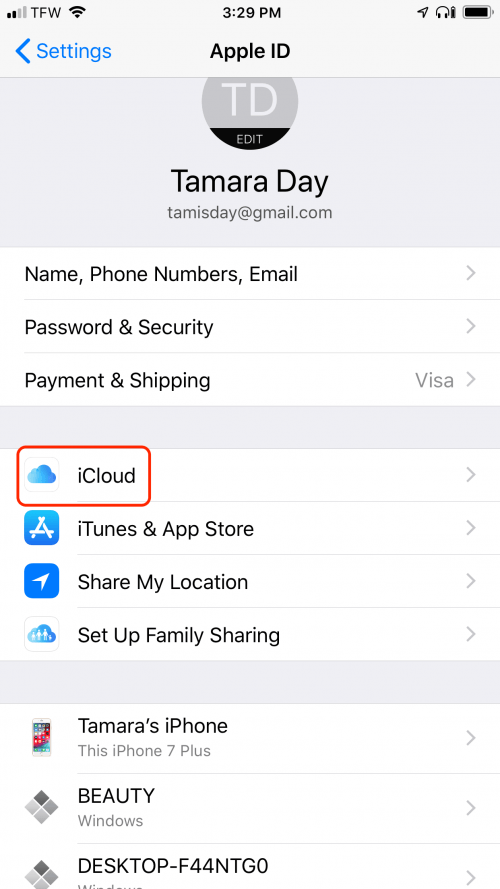
- Tap iCloud.
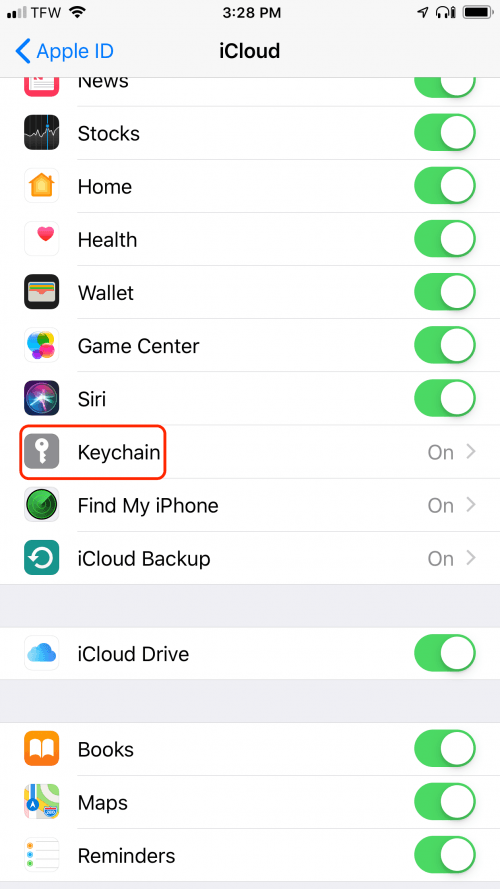
- Scroll down and tap Keychain.
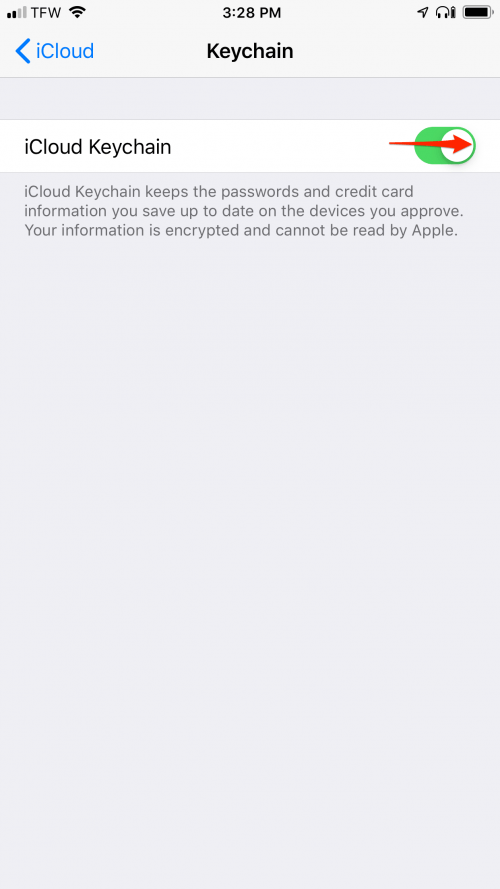
- Toggle Keychain to the On position.
- You also need to have Two-Factor Authentication enabled.
- Finally, you’ll need to have the Home and Apple Music apps installed on your iOS device. Both apps are installed by default, but if you’ve deleted either one you can reinstall them via the App Store.
Setting Up the HomePod
- Plug your HomePod into a power source. Apple recommends you set up the HomePod at least six inches away from any wall with at least six inches of space around the speaker.
- When your HomePod is ready to go, you’ll hear a chime and see a pulsing white light on the top of the HomePod.
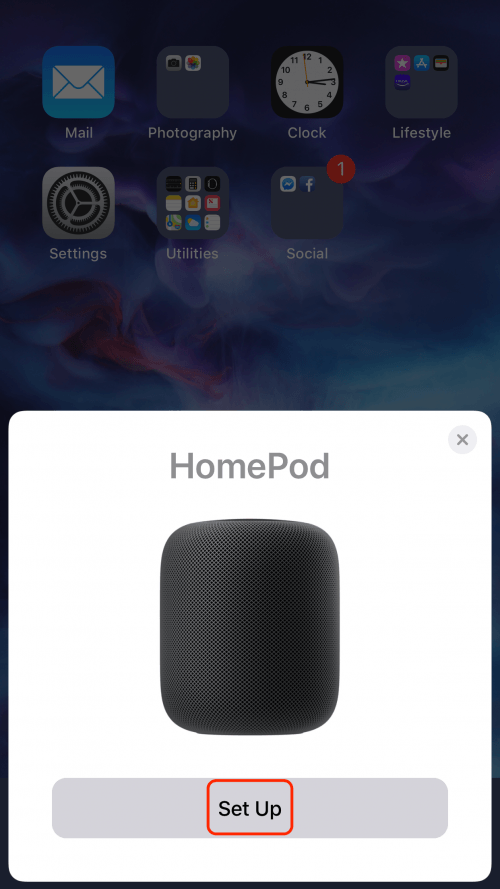
- Hold your iOS device close to the HomePod until the option to Set Up appears. (Be patient, it might take up to a minute for something to happen. If nothing happens, scroll down to the next section to troubleshoot.)
- Tap Set Up to continue. (If you accidentally exit out of set up, shut down and restart your iOS device to start over.)
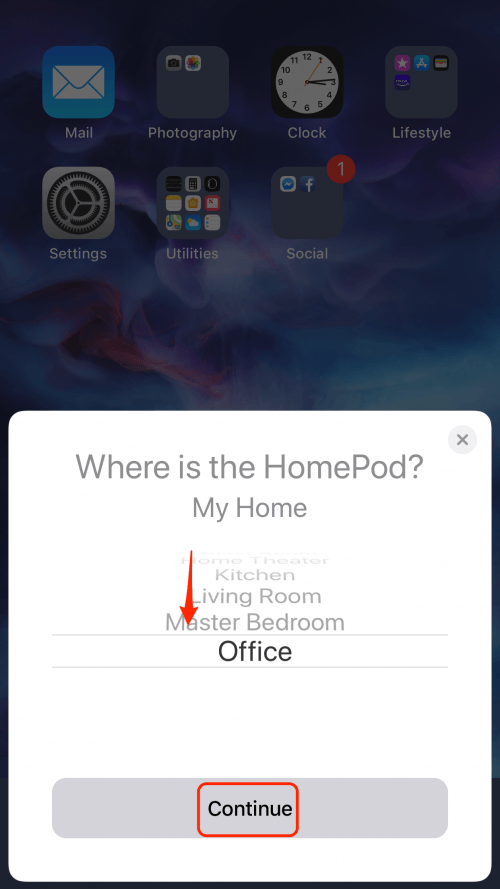
- Select the room where you will use the HomePod.
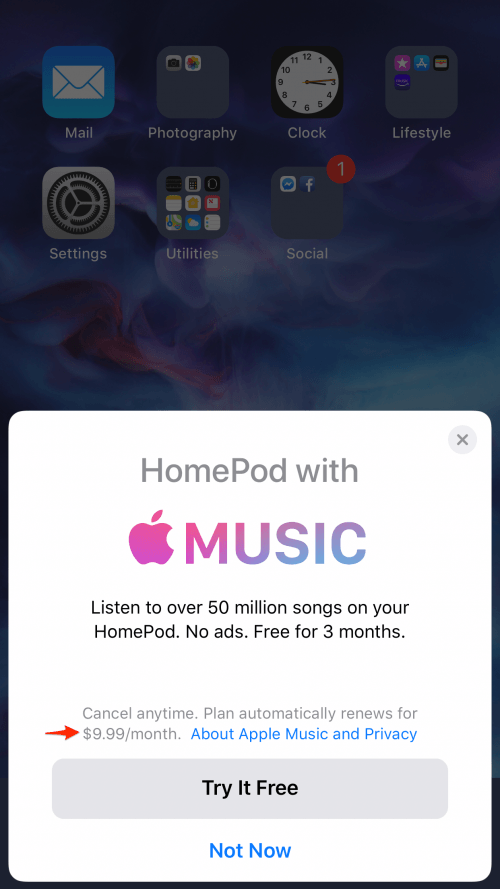
- If you don’t have an Apple Music subscription, you’ll be prompted to try the subscription for free. You don’t need an Apple Music subscription to play the music you’ve purchased, but some of our staff swear by Apple Music. If you want to give it a try, just remember to cancel your subscription before it renews if you decide you don’t like the service or don’t use it often enough to justify the cost.
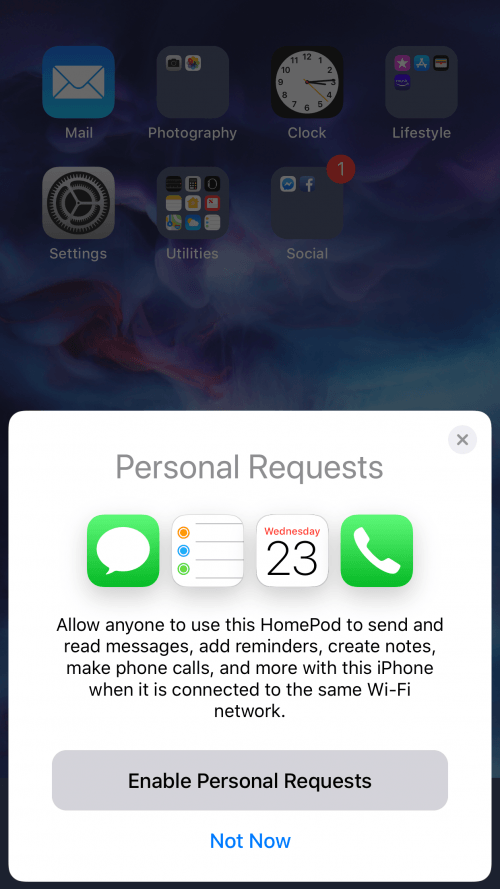
- Next up is Personal Requests. This function allows you to send and receive messages, add reminders, create notes, etc. Unfortunately, your HomePod can’t tell the difference between your voice and your seven-year-old’s voice. By "allow anyone," Apple really does mean anyone. So, be warned; if you enable this function then your seven-year-old will be able to send texts to your work colleagues.
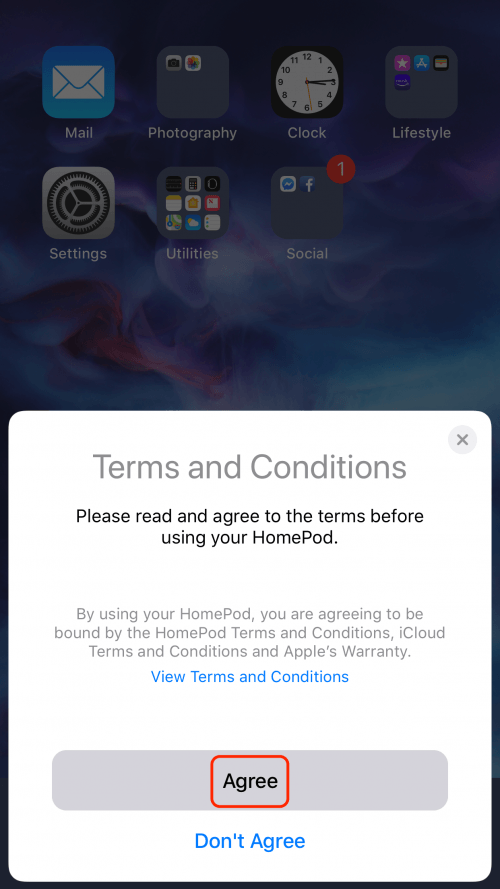
- The next screen is the Terms and Conditions. Tap Agree to continue.
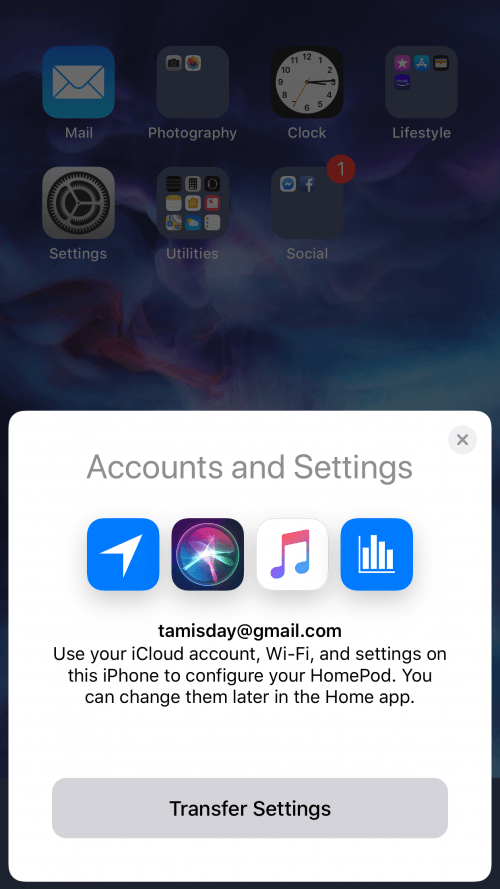
- The final step is Accounts and Settings. You have to transfer your iPhone settings to continue. You can always adjust your settings later in the Home app. I recommend reviewing those settings in your Home app for privacy reasons, especially if your HomePod is set up in a communal space. To continue, tap Transfer Settings.
- Now your HomePod will finish the setup process. Once it’s done, Siri will walk you through some basic commands. For a thorough list of commands, your HomePod understands, visit Apple.
What to Do if Your HomePod & iOS Device Won’t Connect
Whether you’re getting an error message or nothing is happening, finding that you can’t connect to your HomePod is frustrating. Before you call Apple Support, try these troubleshooting tips.
If your HomePod is paired with another iOS device, you’ll need to reset your HomePod. To reset the HomePod without the device it’s paired to:
- Unplug and plug the HomePod back in while simultaneously pressing down on the top of the HomePod.
- After a few seconds, you’ll see a red blinking light. Continue pressing down. After a few seconds, you’ll hear Siri instructing you to continue pressing down. Soon, you’ll hear three chimes, at which point you can release your finger and continue with the steps in the previous section.
To reset the HomePod from the device the HomePod is paired to:
- Open the Home app.
- Press and hold the HomePod icon.
- Tap Settings.
- Scroll all the way down and tap Remove Accessory.
- Tap Remove.
- When the process is complete, your HomePod will chime.
Finally, if none of these methods are working, you can input the code manually in the Home app. The code will be in the packaging that came with your HomePod. To enter the code:
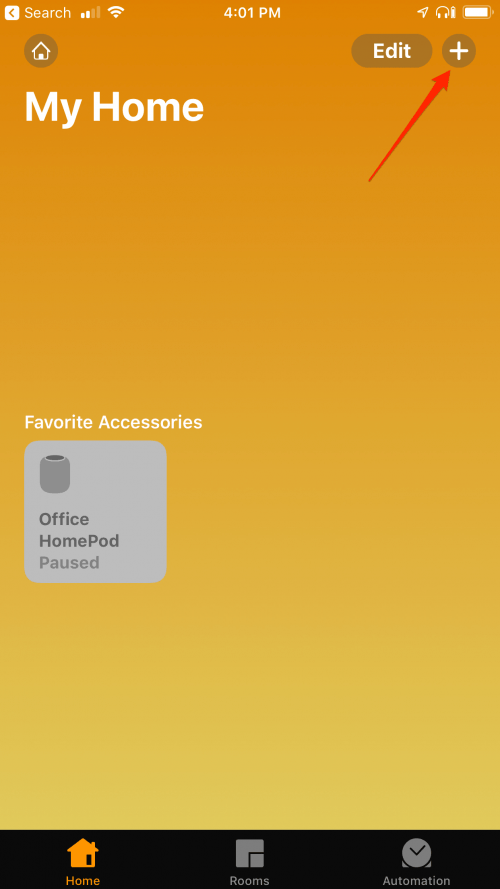
- Open the Home app.
- Tap the Plus icon in the upper right hand corner.
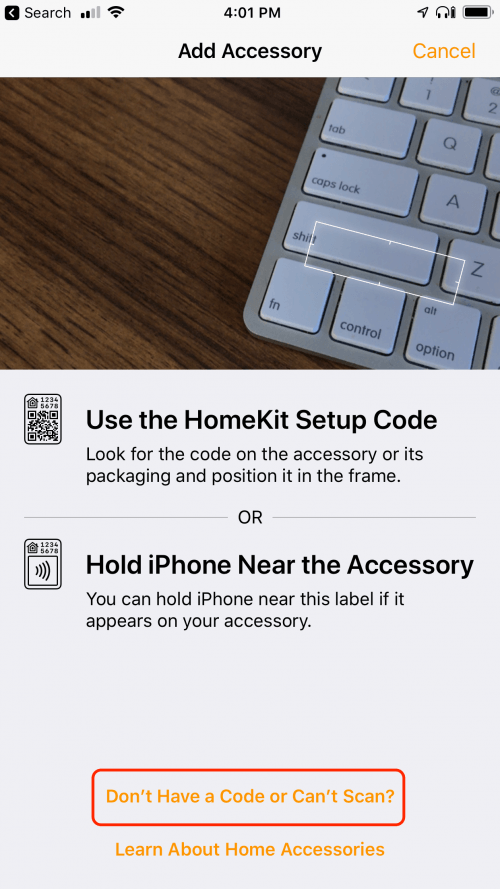
- Tap Don’t Have a Code or Can’t Scan.
- Tap Enter Code.

- Enter the eight-digit code found in your HomePod packaging. This should kickstart the setup process in the section above.
Master your iPhone in one minute a day: Sign up here to get our FREE Tip of the Day delivered right to your inbox.
iPhone Life articles by all authors about iPhone and iPad


Recent Comments