
Quickly dictate notes, record riffs, or capture any audio, any time.
Just like the name implies, the built-in Voice Memos app lets you record any audio you want to save right to your iPhone. It could be a lecture at school, voice-over for a video, an interview for a project, or anything at all.
If you want to record your song ideas, you want Apple’s new Music Memos app. If you want speech-to-text, you want Apple’s virtual assistant, Siri. If you just want to record audio, trim it, save it, or share it, you want Voice Memos. Here’s how it all works!
- How to record a voice memo
- How to listen to an existing voice memo
- How to share voice memos
- How to trim voice memos
- How to rename voice memos
- How to delete voice memos
How to record Voice Memos for iPhone
- Launch the Voice Memos app from your Home screen.
- Tap the record button. It’s the big red circle.
- Tap the white button on the top of the record tab to reveal the pause option.
- Tap the pause button to pause the recording. You can then optionally hit resume to keep recording in the same file.
-
Tap Done when you’re finished.

The recording will now appear in the list above the record tab.
How to listen to an existing Voice Memo on iPhone and iPad
You can listen to all the recordings you make right in the Voice Memos app.
- Launch the Voice Memos app from your Home screen. It may still be in the Utilities folder if you haven’t moved it.
- Tap the Voice Memo you’d like to listen to.
-
Tap the play button.

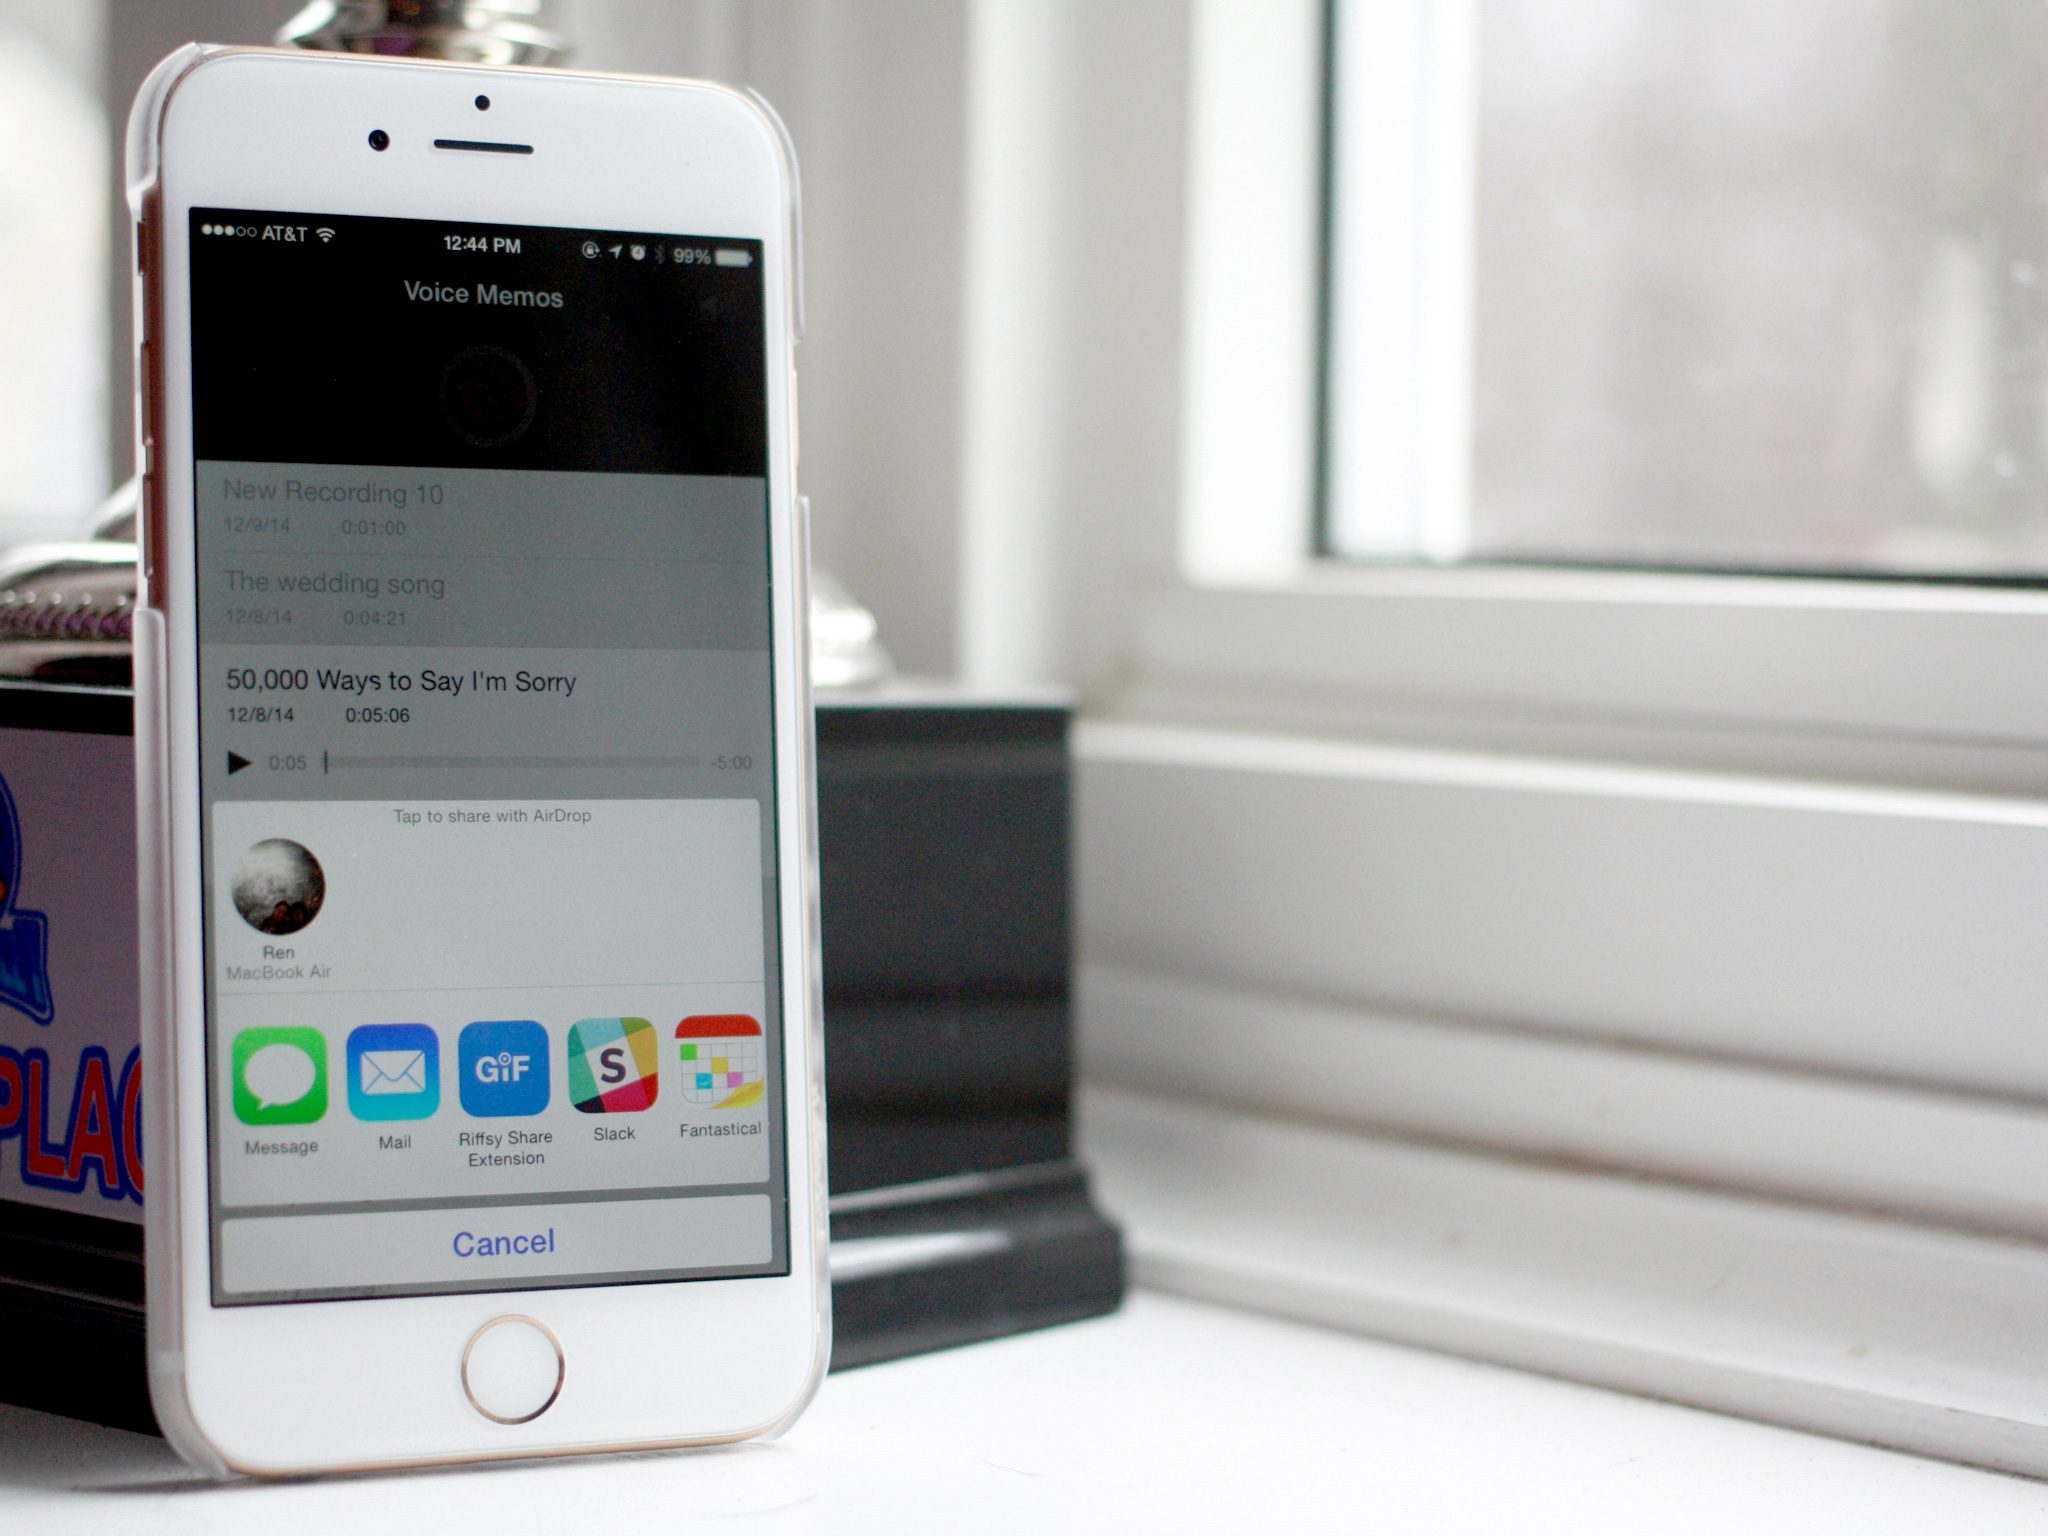
How to share Voice Memos on iPhone and iPad
You can send recordings via iMessage, email, and more!
- Launch the Voice Memos app from your Home screen.
- Tap the recording you’d like to share.
- Tap the more button on the bottom left of the recording. It’s three horizontal dots.
- Tap Share.
-
Tap the method by which you’d like to share your Voice Memo and proceed as normal with your chosen method.

How to trim Voice Memos on iPhone and iPad
Audio recordings seldom start and end perfectly, but you can trim off any extraneous sound before and after your memos right in the app.
- Launch the Voice Memos app from your Home screen. It might be in the Utilities folder if you haven’t reorganized your Home screen.
- Tap the recording you’d like to trim.
- Tap the more button on the bottom left of the recording. It’s three horizontal dots.
- Tap Edit Recording.
-
Tap the trim button on the upper right of the recording. It’s a blue box with lines and dots.

- Drag the trim slider from either end of the recording to trim off the beginning or off the end.
- Tap Trim to trim the recording as is. You can optionally hit Delete to delete the section between the trim sliders.
- Tap Save.
-
Tap Done.

How to rename Voice Memos on iPhone and iPad
If you don’t like the name you gave your original recording or couldn’t come up with one at the time, you can always go back and change it.
- Launch the Voice Memos app from your Home screen’s Utilities folder.
- Tap the recording you’d like to rename.
- Tap the name of the recording**. It will become highlighted in blue.
-
Enter a new name.

Once you tap anywhere else, the name will stick. You can rename any recording, just like this, any time.
How to delete Voice Memos on iPhone and iPad
There are three ways to delete your Voice Memos, so we’ll show you the quickest and easiest way to do so.
- Launch the Voice Memos app from your Home screen.
- Tap the recording you’d like to delete.
-
Tap the delete button on the bottom right of the recording. It’s a trash can.

Deleted recordings will appear in the Recently Deleted folder and will remain there for 30 days, so if you delete something by accident, you can recover it there.
You can alternatively delete multiple recordings by tapping Edit on the top right of the screen, selecting recordings, and tapping Delete.
Questions?
Questions about how to use the Voice Memos app? Let me know in the comments below!
Updated October 2018: Screens and steps updated for the latest version of iOS.
iMore – The #1 iPhone, iPad, and iPod touch blog


Recent Comments