
Do you fear that your Apple device may have met a watery grave? You might be able to save it.
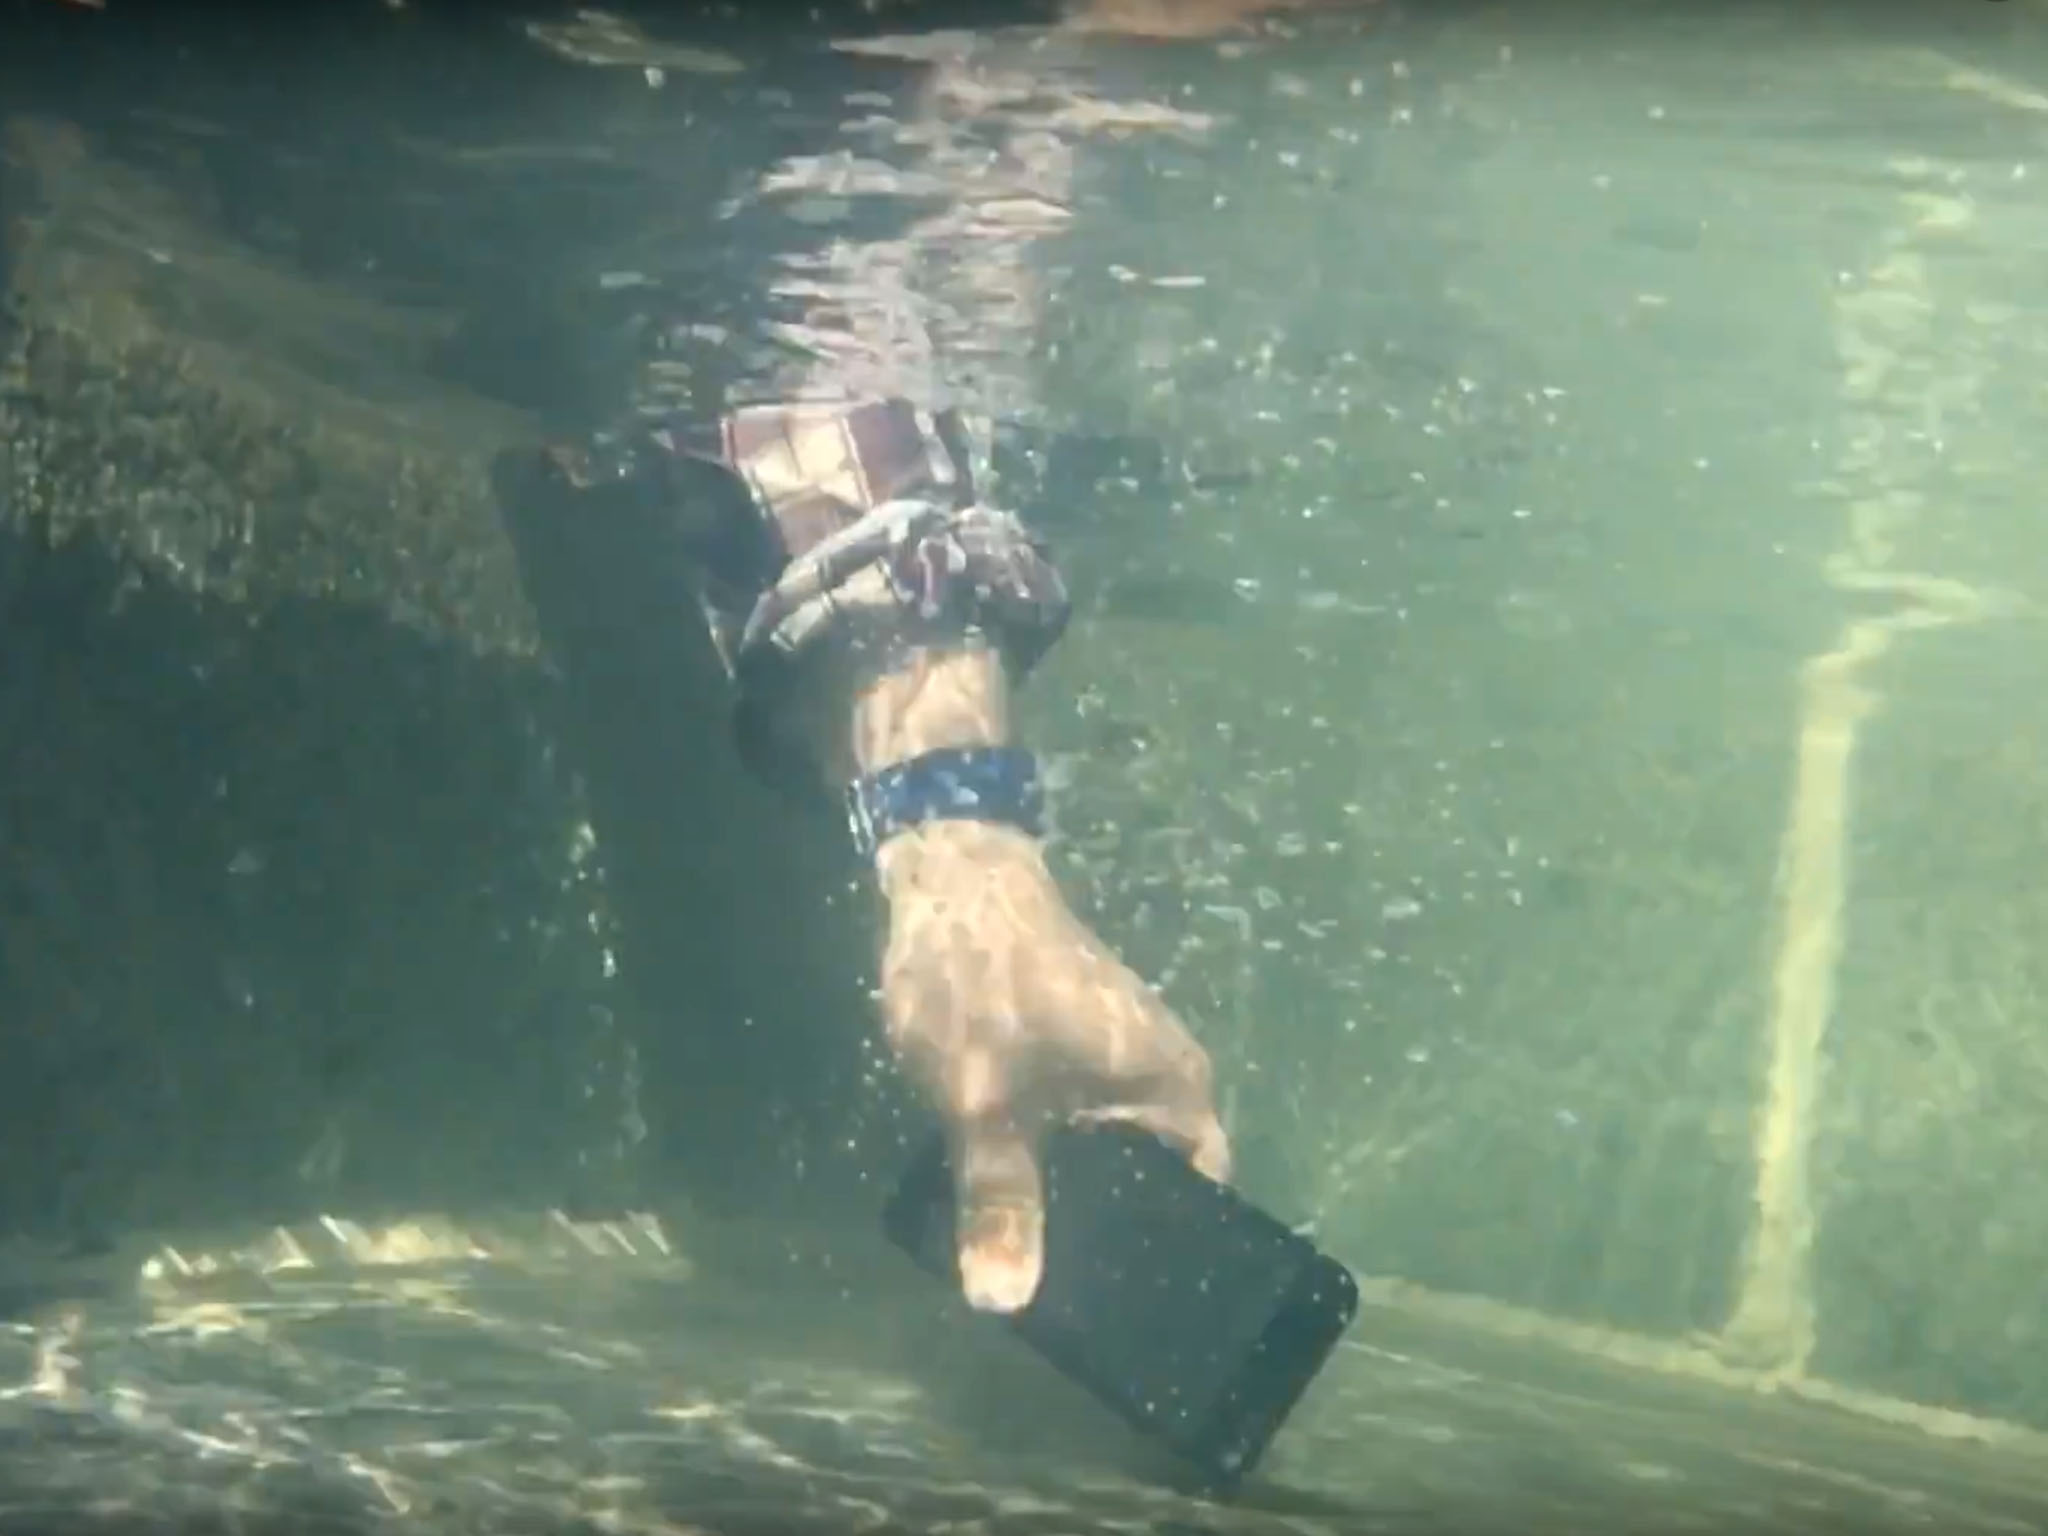
As more and more phones and devices acquire better and better water resistance ratings, liquid damage is becoming less of an issue. That being said, water can still often find its way into places it shouldn’t be, causing malfunctions or a complete stoppage in function.
If your iPhone, iPad, AirPods, or Mac has been met with moisture and now it’s on the blink, try these fixes to hopefully save your device from an untimely demise.
- Water-resistant vs. waterproof
- Water damage and your warranty
- How to fix iPhone or iPad water damage
- How to fix AirPods water damage
- How to fix Mac water damage
Water-resistant vs. waterproof
Let’s get this out of the way first, since these terms are often used interchangeably by manufacturers. There is no universal standard for "waterproofing" — that is to say that nothing can truly be considered waterproof, since no manufacturer can absolutely guarantee that. Therefore, everything that can withstand a bit of moisture is water-resistant.
Water-resistant products are given "Ingress Protection" or IP ratings, which help consumers determine their level of water resistance. The rating consists of two digits, the first from 1 to 7 and the second digit from 1 to 9. The first number is intrusion protection, which really refers to dust. The second is moisture protection.
Rather than go through all them, the IP ratings we need to concern ourselves with in the case of Apple products are IP67 and IPX7, the water resistance rating given to the iPhone 7, 7 Plus, 8, 8 Plus, and X, and the Apple Watch "Series 0" and Series 1, respectively. The Apple Watch Series 2 and 3 are good to 50 meters deep, but were not given an official IP rating. IP67 and IPX7 mean that the device is totally protected against dust that would harm the internals, and it can survive after being submerged in up to 3 feet of water for 30 minutes.
Apple has given none of its other products an IP rating, so it’s safe to say that your iPad, AirPods, Mac, and older iPhone are all susceptible to water damage.
‘Swim-proof’ vs. ‘splash-proof’
The Apple Watch Series 2 and 3 are "swim-proof," which means they can handle submersion for quite a while and can handle the pressure of swimming strokes, which can force water into devices much faster than simple submersion can. The first-gen Apple Watch and Series 1 are merely splash-proof, despite their IPX7 ratings.
While Apple does not mention water or liquid damage in its standard one-year Apple Watch warranty, it does guarantee your Apple Watch Series 2 or 3 when used under Apple’s guidelines. This means shallow water activities, but not anything with "high velocity water" or "submersion below shallow depth." So while the Apple Watch Series 2 and 3 are guaranteed to 50 meters deep under ISO standards, Apple isn’t so keen on your doing that outside of controlled testing.
Water damage and your warranty
We’ve been seeing it since the iPhone 7 was released: people taking underwater photos, going swimming with the iPhone, and just plain playing fast and loose around water. While that’s all fine and good, it’s a bit foolhardy.
It won’t last forever
While your iPhone may seem "waterproof" at the beginning, water does take its toll over time. The nano-coating covering connectors and ports will degrade, and as water evaporates off of your iPhone, it’ll dry out any plastic. And if you’ve ever dropped or scratched your iPhone, any little imperfection can expedite liquid’s destruction.
Even our own Serenity Caldwell drowned her husband’s phone when she flew a little too close to the underwater photography sun.
Apple ain’t got time for that
Apple doesn’t cover water damage under its regular warranty, so if your device does go kaput, you’re hooped. Without AppleCare+, water damage repair will cost your up to $549 for your iPhone XS.
How to fix iPhone or iPad water damage
If your iPhone or iPad was fully submerged in water for any length of time, there is no guaranteed fix for water damage. There are a few things you can try, but don’t get your hopes up. If your device has just been splashed, then chances are water hasn’t gotten inside, but play it safe and follow these steps anyway.
Manually dry it
Before you go raiding the pantry for rice, take your iPhone out of the liquid and dry it off as well as you can first:
- Take your phone out of the water as quickly as possible (duh).
- Turn it off. DO NOT TRY TO USE IT.
- Take the case off if you have one.
- Take the SIM card out.
- Shake it, baby, shake it. Try to shake, blow, or suck out as much water as you can.
- Wipe your phone down with the most absorbent cloth you can find, and make sure it’s a dry one. (ShamWow FTW!)
- If you’re feeling adventurous (and you’re OK with voiding your warranty/AppleCare), you can open your iPhone or iPad up to dry the inside better. You can find teardowns on iFixit.com.
- Just let it dry. And wait. The longer you can wait to turn your iPhone or iPad back on, the better. If you can wait three days, do it.
Check for water damage
Your iPhone has a water damage indicator in the SIM slot. It’s a piece of plastic that changes from white to red when it comes in contact with too much water. Use a flashlight to peek inside the SIM slot to see if you can see the red indicator. If you don’t see any red, then you’re probably in the clear in terms of warranty, though there may still be water damage to other components in your phone that has gone undetected.
Even if your indicator is red, try turning your iPhone on after a couple days. If it works, then great. The indicator was tripped, but your phone still works. If the indicator wasn’t tripped, but your iPhone doesn’t work anyway, then make a Genius Bar appointment and go in playing dumb. Under AppleCare+, the repair cost is generally $99. Outside of AppleCare and warranty, the cost will vary depending on your iPhone model.
The original iPad had a water damage indicator, but that was removed with the second generation, so you’ll just have to wait a couple days for it to dry out and try using it.
Don’t bother with rice, kitty litter, or oatmeal
These methods simply don’t work as well as leaving your device out on a shelf in a dry place, according to Gazelle’s tests. For one, zipping your device up in a bag with an absorbent material can create humidity, so the silica or oatmeal might absorb water out of your iPhone, but the air inside the bag will still be moist.
How to fix AirPods water damage
Being such small devices, there really is no way to open up your AirPods to let water out. The best you can do is dry them with an absorbent cloth or towel, shake ’em as best you can to get as much water out as possible, and then let them dry for a couple days.
Test them and see. If only one’s working, then you can grab a replacement. If they’re both pooched, then you’ll just have to replace them.
How to fix Mac water damage
How well you can repair your water-damaged Mac will depend on how savvy you are with taking it apart and how comfortable you feel fiddling with components. If you’re not comfortable with any type of dismantling when it comes to your laptop, then follow the below steps to your comfort level:
- Turn it off and unplug the power cable. This prevents the water inside from carrying potentially harmful electrical current to the various components.
- Disconnect anything that’s plugged into it: USB drives, mice, monitors, SD cards, etc.
- Remove the battery if possible and if you feel comfortable doing so (some Mac models simply don’t allow for this).
- Lay your Mac upside down on a towel — this lets the water drip out the ports and keyboard.
- Take note of what you spilled on it: water, juice, beer, sulfuric acid — whatever you had lying around the house. This is important. Less acidic liquids, like water, milk, or tea can do less damage than more acidic ones, like juices, wine, or other alcohol.
- Get it to an Apple store or a repair shop as quick as you can. The longer you wait, the smaller its chances of survival.
Avoid shaking your Mac, since, unlike an iPhone or iPad, this could just distribute the water further and end up doing more damage. Leave your Mac off until it’s repaired. Turning it on means electrical current is moving, and water can help magnify that, leaving destruction in its wake (water puns!).
As with iPhones and iPads, don’t bother with rice or any of that malarky. For one, it won’t work as well as letting it air dry; for another, your Mac has larger ports, and you’re just gonna fill them up with crap, and that’ll just end up doing more harm than good.
Remember that time is of the essence here. The enzymes and other molecules that make up whatever liquid you’ve spilled can eat away at components, but it does take time, so the shorter time between the spill and repair, the better, and the more salvageable your Mac will be.
You don’t necessarily have to take your Mac to a repair shop. If you have any savvy, then by all means open ‘er up. Just remember that if you damage anything at all, and Apple can tell it’s your fault, you’ll void the warranty. So take the utmost care, especially with newer models, since you can bust the clips holding the back plate in place if you’re not gentle enough.
Questions?
Let us know in the comments below! Have you ever had a water-damaged device that you’ve been able to fix? Let us know how you did it!


Recent Comments