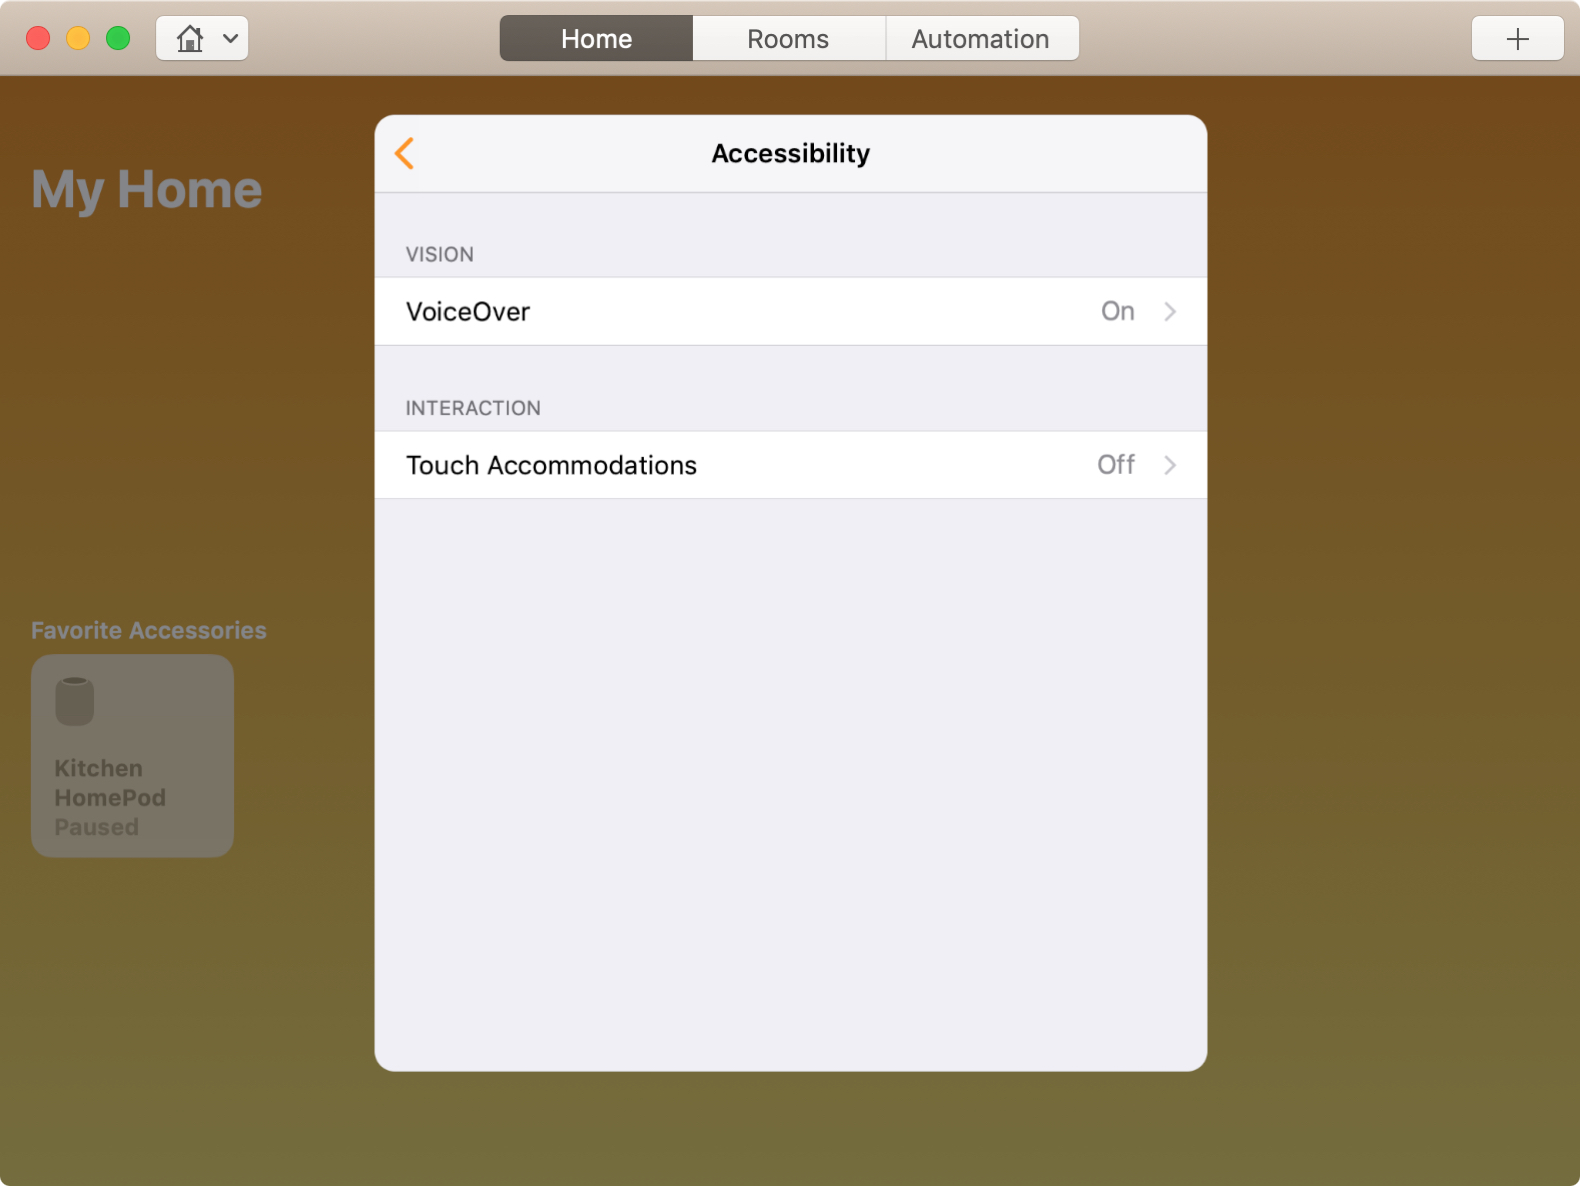
If you use accessibility features like VoiceOver on your Mac or iOS devices, you can also use them on your HomePod.
VoiceOver is a helpful feature for the visually impaired that tells you out loud what’s happening on your device. Plus, you can control it with simple gestures.
If you would like to set this up and start using it on your Apple smart speaker, it’s very easy to do. Here’s how to enable and use VoiceOver on HomePod on iOS and Mac.
Enable VoiceOver on HomePod
Using the Home app on either your iOS device or Mac, do the following to enable VoiceOver.
On iPhone and iPad
1) Tap and hold your HomePod icon and then tap Settings.
2) Select Accessibility.
3) Choose VolceOver and turn on the slider to enable the feature.
4) Tap the back arrow at the top to go back to the Device Settings and tap Done.
On Mac
1) Double-click your HomePod icon and click the Settings button or right-click and pick Settings.
2) Select Accessibility.
3) Choose VolceOver and turn on the slider to enable the feature.
4) Click the back arrow at the top to go back to the Device Settings and click Done.
You’ll notice on both the iOS and Mac VoiceOver screens that you can adjust the Speaking Rate, Double-tap Timeout, and Audio Ducking while you’re there.
Use VoiceOver gestures on HomePod
Once you have VoiceOver enabled on your HomePod, you can control it with these gestures on the top of the device if you like.
- Tap or drag: Siri tells you the name of the control you’re touching and selects it.
- Double-tap: Use the control that’s selected.
- Double-tap and hold for volume: Adjust the volume as you hold the control.
- Double-tap and hold for play/pause: Use Siri.
- Triple-tap: Skip the current song playing.
- Quadruple-tap for music: Play the previous song.
Wrapping it up
If you find the VoiceOver feature helpful on your iPhone, iPad, or Mac, then why not use it on your HomePod too? Is this a feature that you use on HomePod and if so, do you have tips of your own you’d like to share?


Recent Comments