Wait, what? Why would you want to back up your iCloud Photo Library? Apple takes care of that, right? After all, the clue is in the name — the library is stored in iCloud.
Not so fast. That’s true, but what if something screws up at Apple’s end? What if you lose access to your iCloud account? What if, what if, what if? In most cases, you’ll be fine, but being a good computer nerd, you probably understand the value of redundant backups. So today we’ll see how to make sure all your images are safely stored. Just in case.
How to back up your Mac’s Photo Library
Step one is to make sure you have a Mac. That’s because you can’t make local backups without one. While you can switch your entire iPhone or iPad backup system to your Mac, using iTunes, we recommend keeping iCloud backup switched on. That makes it easier to restore a new iDevice. More importantly, it’s automatic, backing up your iPhone and iPad daily as long as you plug it in for long enough.
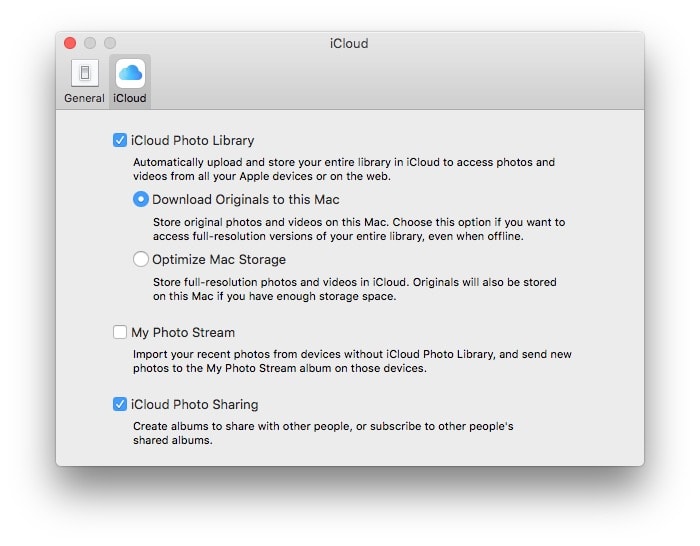
Let’s get started. In order to back anything up, we need to first make sure it’s actually on your Mac. Open up the Photos app on your Mac and go to Photos > Preferences in the menubar (or hit ⌘-,). You’ll see this:

Photo: Cult of Mac
The box that needs to be checked is the second one down, Download Originals to this Mac. This does exactly what it says. It downloads the full-size originals to your Mac. If this box isn’t checked, the Mac will keep thumbnails of all images, only downloading larger versions on demand (like when you want to view or edit them, for example).
By forcing Photos to download the original files, you now have a local backup of all your photos. But that’s not enough.
Create a redundant backup of your iCloud Photo Library
If you use Time Machine, or another automatic backup solution like the excellent Carbon Copy Cloner, you can stop reading now. Because your full-size original photos now reside on your Mac, they will be backed up along with everything else. If not, then you will have to do it manually, which is impractical.
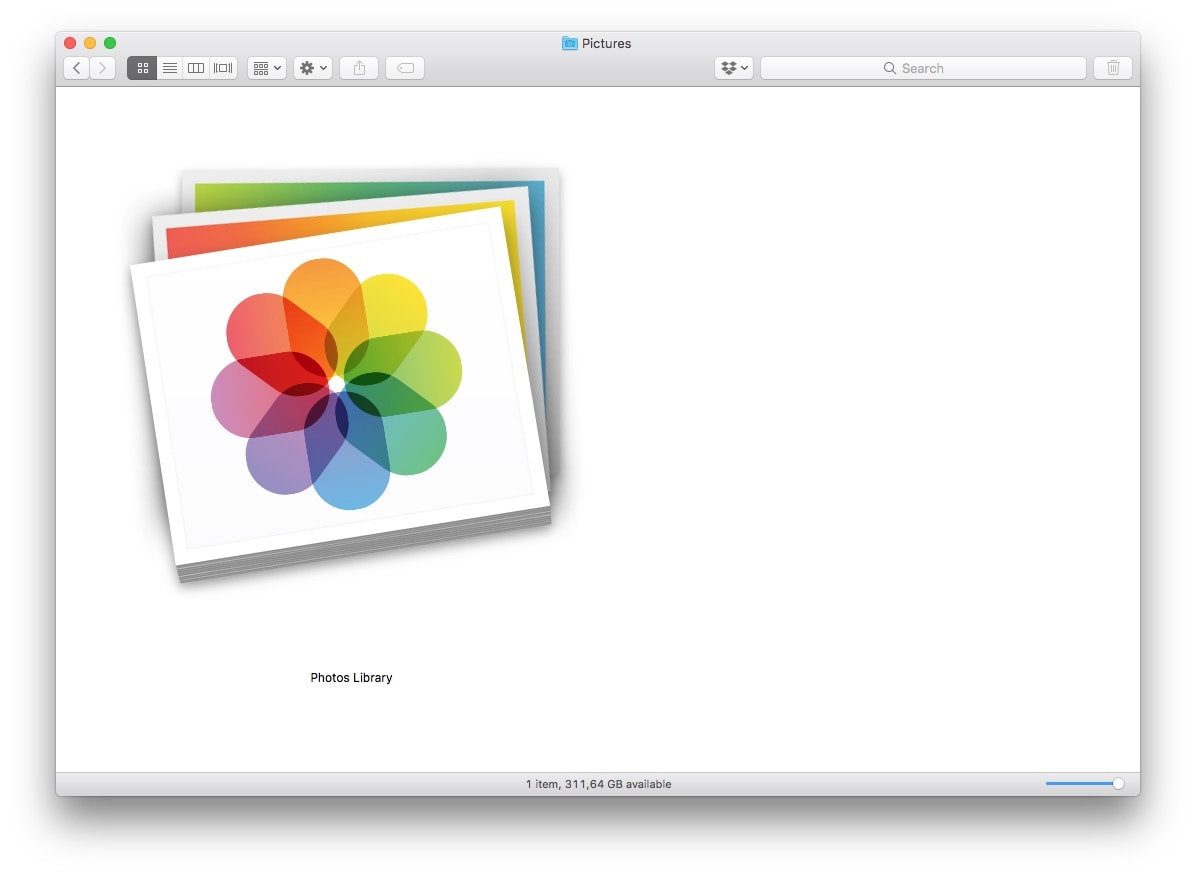
Your Photo Library is stored inside your Pictures folder on your Mac. It looks like this:

Photo: Cult of Mac
To make a manual backup, you just need to copy this to an external drive. If you have a huge library weighing in at tens or even hundreds of gigabytes, that could take a long long time. That’s why automatic backups are better. They only need to copy stuff that’s changed since the last backup, so they’re much, much quicker. And you should have a backup anyway. I’d point you to our How-To on the subject, but it’s almost nine years old, and the process is simple: Plug a new external drive into your Mac, and pick Use as Backup Disk when your Mac offers to use that drive for Time Machine. That’s it. You’re done.


Recent Comments